


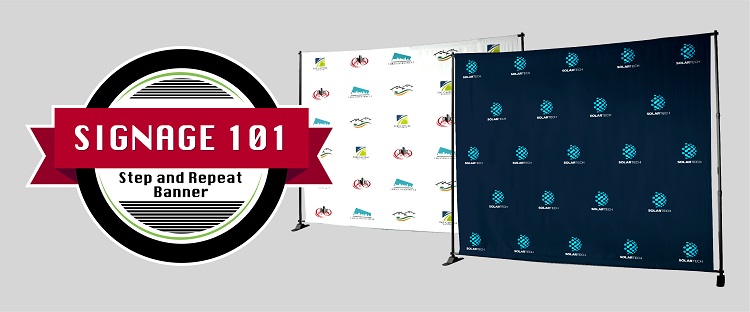
Signage 101: How to Design a Step and Repeat Banner
When you think of celebrities walking down the red carpet at events like the Academy Awards or the Grammys, you’re probably envisioning them posing in front of a backdrop with a repeating pattern of logos. Better known as a step and repeat banner, this popular type of signage is used as a background for photos for all events – from media galas, tradeshows, and conferences to graduations, weddings, birthdays, and more.
Step and repeat banners provide a marvelous setting for attendees and guests to take pictures. And, for businesses, they also do double duty as a great, non-intrusive way to advertise your company and sponsors. They come in various sizes and there are different ways to design them, depending on the effect you’re looking to achieve.
In this article, we’ll take you through the basics and the specifics of how to create step and repeat banners using Adobe Illustrator and Adobe Photoshop that will work wonderfully for your event and your business.
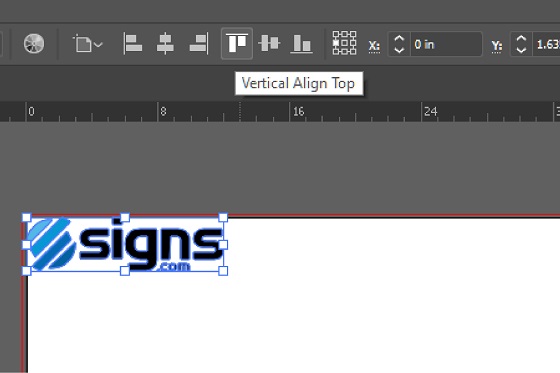
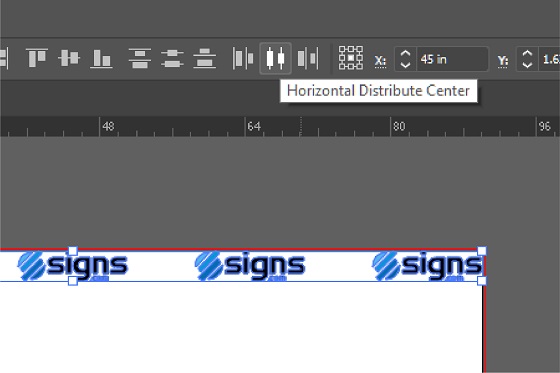
How to Design a Step and Repeat Banner in Adobe Illustrator
Follow these steps in Adobe Illustrator when designing your step and repeat banner.
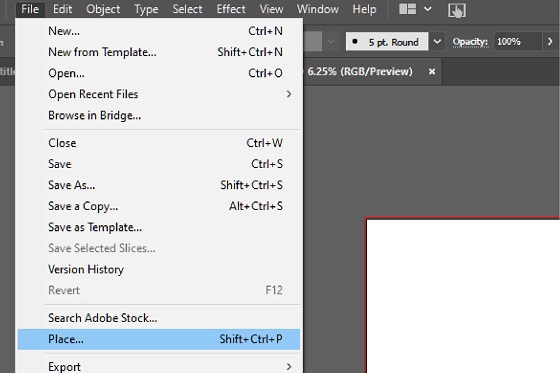
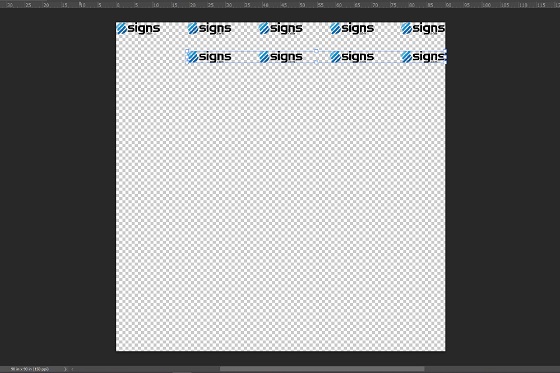
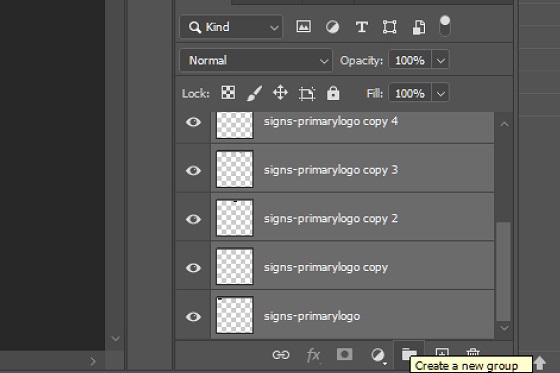
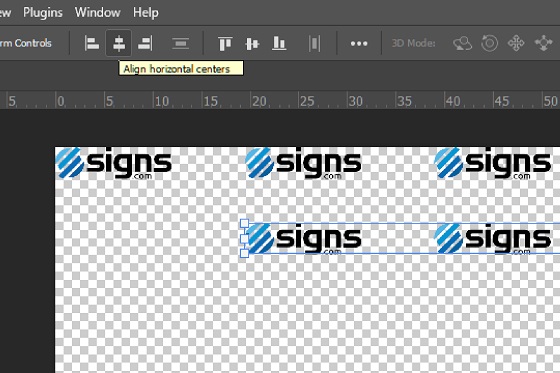
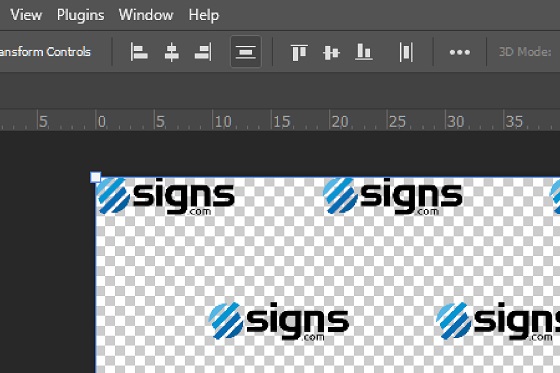
How to Design a Step and Repeat Banner in Photoshop
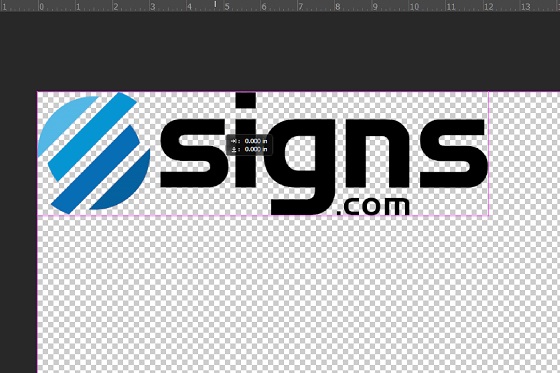
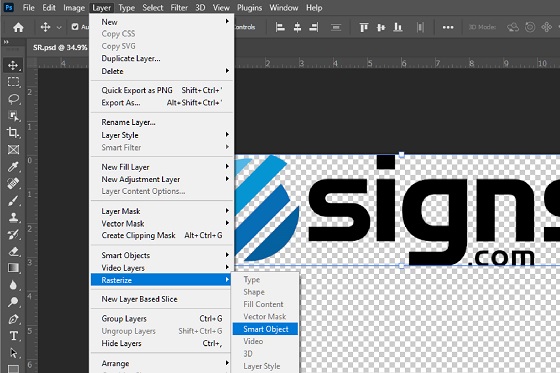
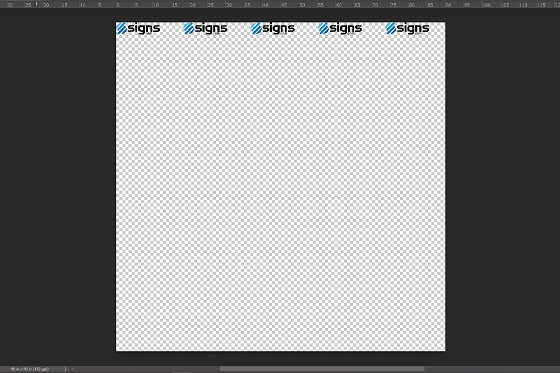
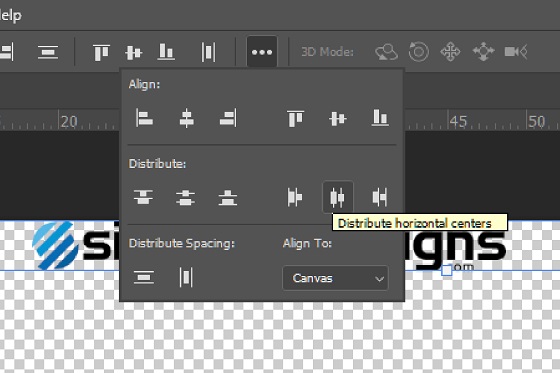
Follow these steps in when designing a step and repeat banner when using Adobe Photoshop. Please note that this guide assumes a 96” x 96” banner.
Considerations When Designing a Step and Repeat Backdrop
1. Software and file type. Two primary decisions to make up front are the software you’ll use and the type of file you’ll work with. Because of Adobe Illustrator’s easy-to-use alignment tools, it’s generally the better software choice for designing a step and repeat banner. This is especially true if your logo is a vector file which is a type of graphic created from mathematical points, curves, and paths.
However, if your logo is a raster file with effects, filters, etc., then Adobe Photoshop might be your better option. Rasters are images made of pixels — the higher quality a raster file is, the more pixels it has. Raster files are generally larger in size (versus vectors), making saving your file slower and taking up more space. While vectors are optimal for logos, there are specific design effects that you can only achieve with a raster file including drop shadows, feather, and glow, which may affect your choice of file type.
Bottom line: Both vector or raster files can be effectively used in creating your design, in conjunction with various software programs. Because most orders we receive here at Signs.com are from folks using Illustrator or Photoshop, we’ll focus on those two programs in this blog.
2. Size of banner. The size of your banner will depend on a few factors. Choose a size that best fits your event space; it might have certain restrictions or rules, and you may have limited space to set up your banner, impacting how large your banner can be. Something else to remember: the backdrops are for picture-taking purposes, so consider how many people will be able to pose in these photos and how much room they’ll need.
At Signs.com, we offer three banner sizes: 8’ x 8’ (our most popular size), 9’ x 8’, and 10’ x 8 ft’. The wider widths allow for larger groups of people to take photos in one go, or if you want to cover a wide area of the event space. Remember that the size you pick will determine the layout of your design.
3. Size of logo. You’ll want to ensure that your logos are easy to see and that the design is not too cluttered. For square logos, the preferred size is usually 5” to 7” and 8” to 12” with longer logos. You’ll want to leave about the same amount of space in between the logos as well to avoid clutter.
If you have one logo that’s very long in a single direction, determining the size of the logos and the space between them can be a bit more challenging. The same holds if you have several logos to size differently so they all fit together. It’s best to have all your logos have the same aspect ratio — that is, similar width-to-height ratios — so they’re easier to pattern.
As we noted earlier, if your logo is a vector file, you can make it any size without losing quality. If it’s a raster, however, you’ll have to pay attention to the quality of the file at the size you’re looking for. You will want your logo to have a minimum quality of 150 ppi at the size you’ll be printing it. So, for example, if you want your logo to be 10-inch wide, it should be at least 150 ppi at that size.
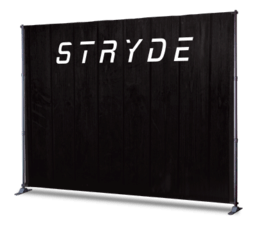
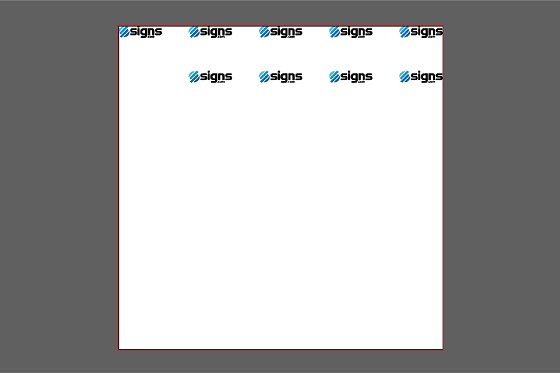
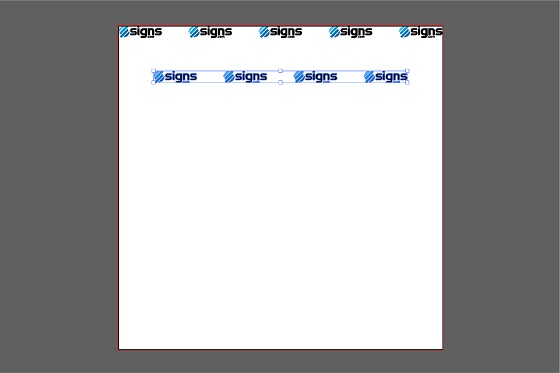
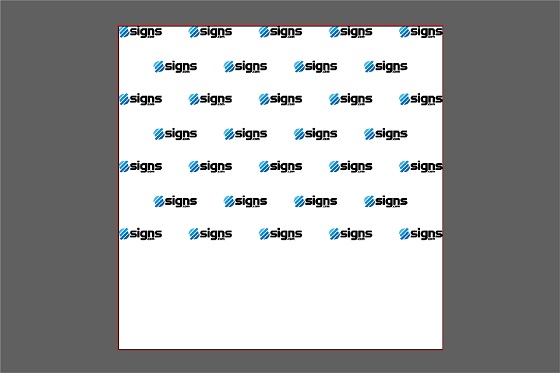
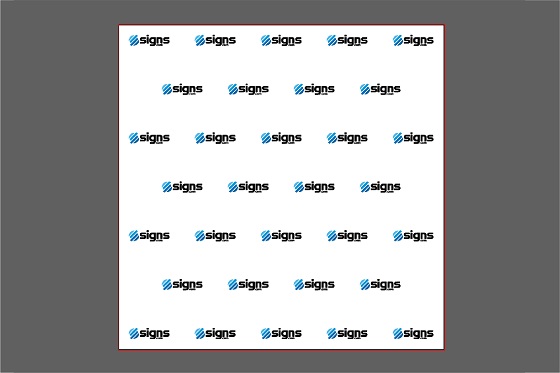
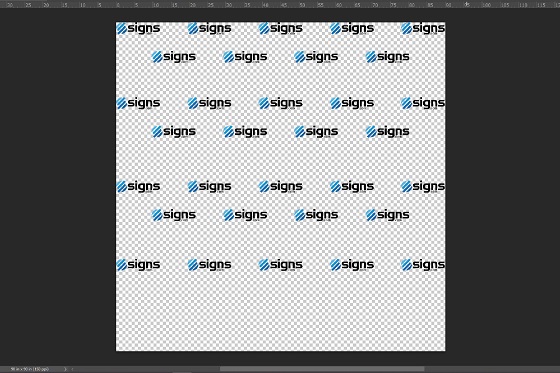
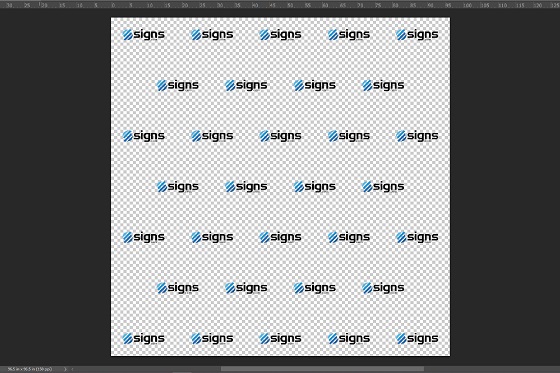
4. Design and colors. The most common step and repeat design is a checkerboard pattern of logos, whether you’re repeating a single logo or various logos. Generally, logos are evenly spaced and lined up in four or five sets, alternating across the banner. Of course, there are other layout options if you want to do something a bit more unusual or experimental.
As far as color goes, it’s best to stick to a background color that complements your logo(s). If you’re working with a single logo, use a color from the company branding. When working with multiple logos, pick a neutral color that will work with all of them. Make sure your background contrasts well with the logos so they’re visible and that they stand out.
3 Quick Additional Tips
Here are three additional tips to keep in mind for your first design:
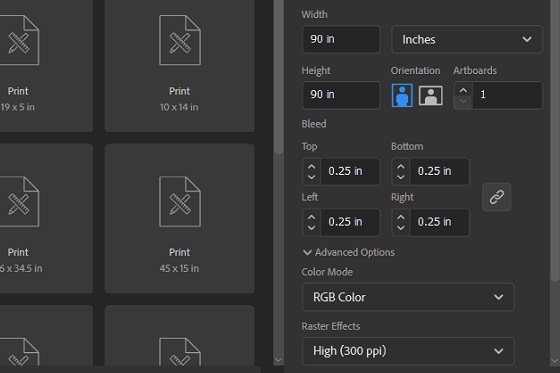
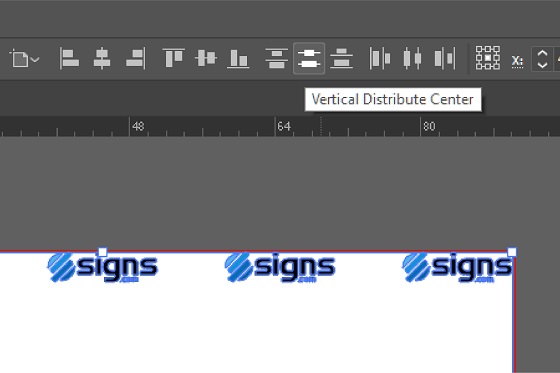
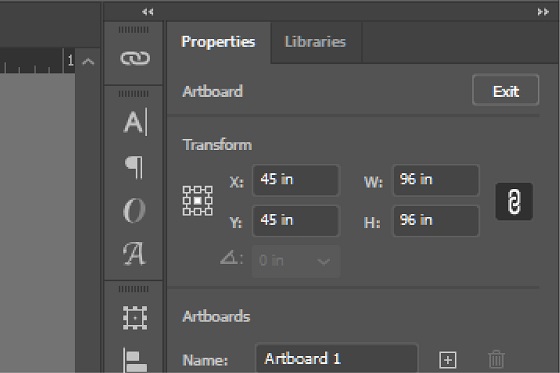
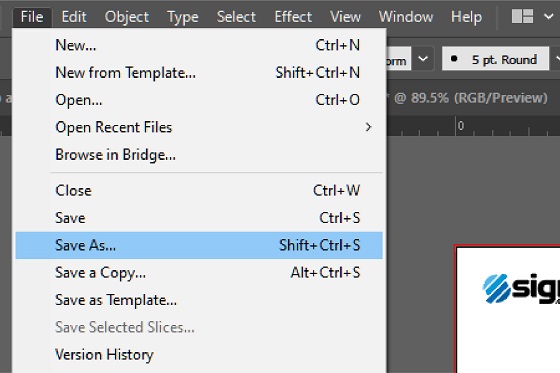
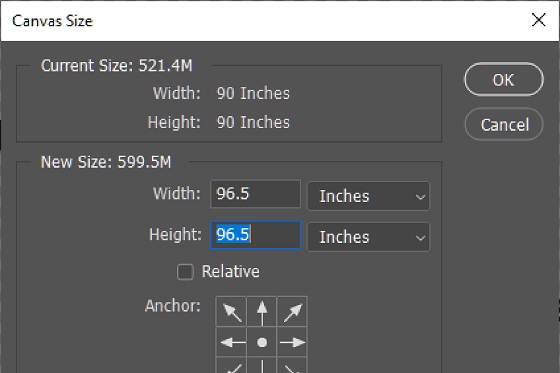
1. Your artboard or canvas should be designed at full size. Regardless of whether you use Adobe Illustrator or Adobe Photoshop, the artboard or canvas should match the size of the banner you’re going to print. It should also include a bleed of 0.5” (our Signs.com online design tool uses inches as the term of measurement, so we’ll use inches here as well); the bleed can be added as 0.25” per side. If you’re working in Illustrator, go to File > Document setup, and add 0.25” to the top, bottom, left, and right (or use the keyboard shortcut Cmd/Ctrl + Opt/Alt + P to do the same).
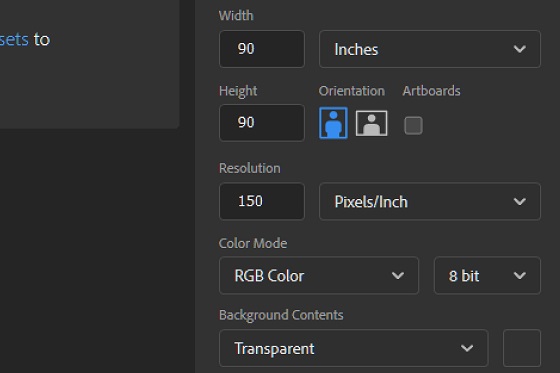
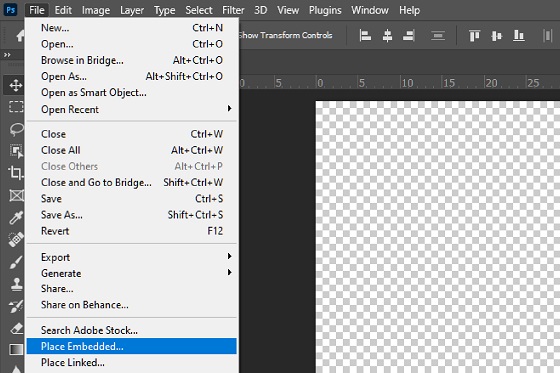
In Photoshop, the resolution of your document should be 150-300 pixels/inch (150 ppi will be sufficient for printing with Signs.com). Once you have your canvas open, you can add guides to the edges of your artboard to serve as a guide for the bleed. Then, adjust the size of your canvas to include that half-inch bleed. To do so, go to Image > Canvas and add 0.5” to the size.
2. Maintain ample spacing around your logos and design. To ensure your design is easy to see and not look cluttered, you’ll want a margin around the entire design, as well as between each logo. Generally, you want two inches or more around your entire design unless you plan on having a pattern that continues off the edge of the banner. Space the logos so that there’s a good amount of room around them and so each logo stands on its own (as well as part of the overall pattern). A typical step and repeat backdrop design has four to five logos per line. The number can vary, however, depending on the size of your logos, the size of your banner, and the overall look you’re going for. Wider banners, for instance, usually add one to two more logos per line.
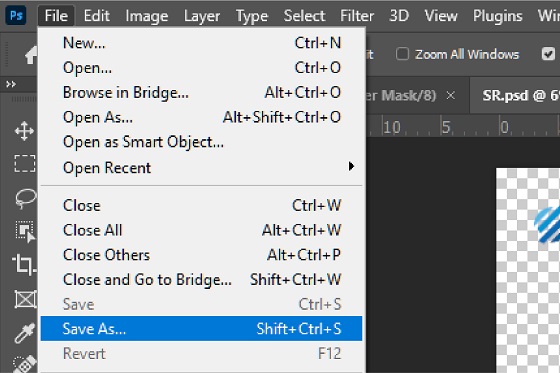
3. Set the color mode to RGB. Although most files are printed in CMYK, quality is maintained best when files are made in RGB mode. Use this mode when designing your file. Once you’re done, you can then convert them to CMYK for the printing. That way, the colors will not be distorted when you upload your file, and it won’t affect the production process. If your logo is a vector, save your file with a vector file extension: AI, EPS, SVG, or PDF. If your file is a raster graphic, you’ll want to save your file with a raster file extension, either as JPG or PNG.
Upload and Print Your Banner
You’re now ready to have your banner printed by your favorite print provider (Signs.com, of course!). To upload your design, go to Signs.com/Design. Under Sign Type, select Step and Repeat Banner, and then choose the correct size for your design. Once that’s set, cursor over to the left side of the screen to find the Upload section. Click Select File to choose your design from your computer or drag and drop your file onto the design space.
A few final notes:
- When saving your file, remember to pick the file type that will work best for your logo. If you are saving it as a raster file it should be at least 150 ppi.
- Make sure that your file saves with the bleed so when you upload it, it comes in at the right size.
- If you are having any issues uploading your file, you can contact us or submit a free design services request. Alternatively, you could use our built-in online design tool so that file submission is easier.
Once everything looks good, you’re set to checkout. At Signs.com, our Step and Repeat Banners are dye-sub printed onto a 9 oz. polyester fabric and are sold with or without a frame. We look forward to helping you with your banner needs!
Frequently Asked Questions About Step and Repeat Banner Design
What is the best material for a step and repeat banner?
Our step and repeat banners are made with durable 9 oz. polyester fabric. The dye sublimation printing process on the fabric makes the images more vibrant and visible. At the same time, its elastic form factor lets it snuggly fit the durable frame via its pole pockets.
How many logos should be on a step and repeat banner?
In most cases, the repeat banners come with just one logo. However, you can add one or two more logos and do an alternating pattern on the repeat backdrop. Try playing with your logos on the design file and outline them so that their patterns complement the entire design. Just be careful not to make your banners look too cluttered.
I want to design a banner, but I don’t have Photoshop or Illustrator; what should I do?
No worries! We have an online design tool you can use to make your banners! Click “Get Started” on our Step and Repeat Banner page, you’ll see a Design Online tab open. Click that and you’ll go to our online design page. Need help with our online design tool? You can use this guide to get you started with your step and repeat design.
Related Articles
Fabric Banner Uses – Signage 101
Signage 101 – How to Hang Your Banner