When it comes to applying decals, there are a number of things to consider: type of decal, wet or dry application, surface, location, etc. Today we’ll break all these factors down and give you a one-stop shop on how to apply any decal you may have. Generally speaking, the steps to install a decal are clean the application surface, remove decal backing, apply application solution (if there is one), position decal in the desired location, press firmly and use a squeegee to get rid of air bubbles.
Regardless of your decal, there are a couple of general rules to follow:
- For best results, Installation should be in temperatures above 50°F(10°C) and below 90°F(32°C)
- You should always clean the application surface before applying the decal—remove all dirt, dust, grease, etc.
- When applying, begin in one corner/side and work your way out from there. Don’t place the decal all at once as this can lead to large air bubbles
- Use a squeegee to get rid of small/minor air bubbles—it is normal to have small air bubbles following installation, most of them will work their way out after 24 hours.
- Place the (removed) backing as a liner between the squeegee and the decal to prevent scratch marks from the squeegee.
- You can use a dry erase marker (on applicable surfaces) or masking tape to ensure better positioning and more accuracy when applying your decal.
Generally speaking, there are two different install methods: wet and dry. It is important to determine whether your decal is wet or dry install, as the installation processes are very different. Check out this table to see whether your signs.com decal is a dry or wet install:
Dry Install
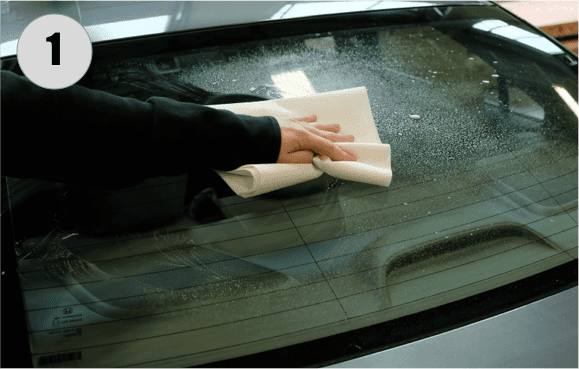
First and foremost, clean the surface where the decal will be applied. Be sure to remove any grime, dirt, grease, dust, or anything that will prevent the decal from fully sticking. Depending on the surface, you may want to use a damp washcloth, glass cleaner, or other common household materials to clean the surface. Make sure the surface is completely dry before beginning the application process.
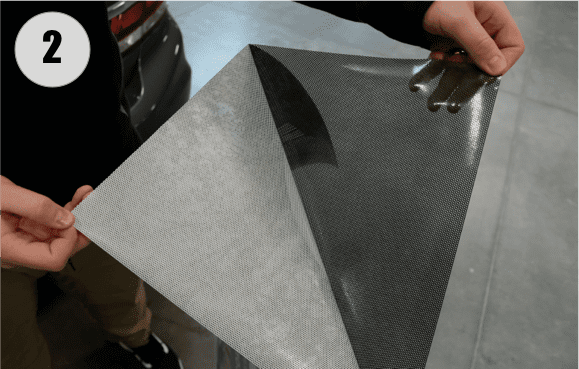
Remove the backing. When removing the backing, it is better to remove part of it and begin applying the decal to the surface as opposed to removing the backing all at once, especially for larger decals. This will make it easier to manage the decal and make sure that it is applied smoothly. **For vinyl lettering, it is important to note that you will first position and then remove the backing.

Position your decal how you want it. Use a level if necessary. Tip: Apply a strip of masking tape to the top of your decal and use that to properly position the decal and hold it in place. You can create a ‘hinge’ with the masking tape allowing you to lift the decal prior to removing the backing.

Apply pressure. Start in one spot (usually a corner or top) and begin applying pressure using your hand or a squeegee, gradually working your way across the entire decal. Go slow, making sure to remove any excess air bubbles.
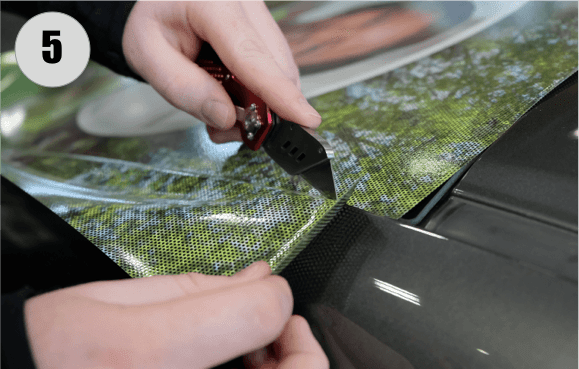
Finishing touches. Once you’ve reached this point, use a squeegee to remove any minor air bubbles and remove all backing. You can now use the backing as a protective barrier between to protect your decal from scratches while using a squeegee. This step may include cutting off extra materials (especially for perforated decals). If you used masking tape to position your decal, you can remove that here as well.
Wet Install
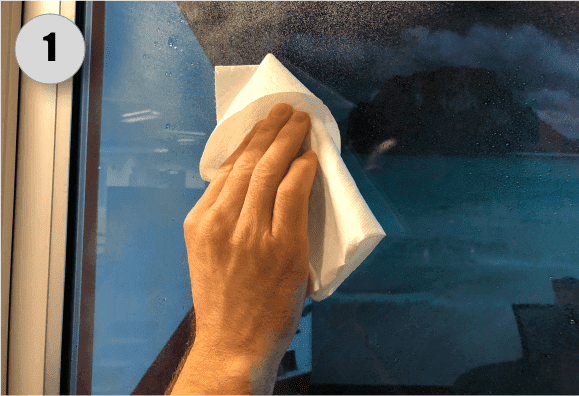
First and foremost, clean the surface where the decal will be applied. Be sure to remove any grime, dirt, grease, dust, or anything that will prevent the decal from fully sticking. Depending on the surface, you may want to use a damp washcloth, glass cleaner, or other common household materials to clean the surface. Dry the application surface before moving onto the next step.
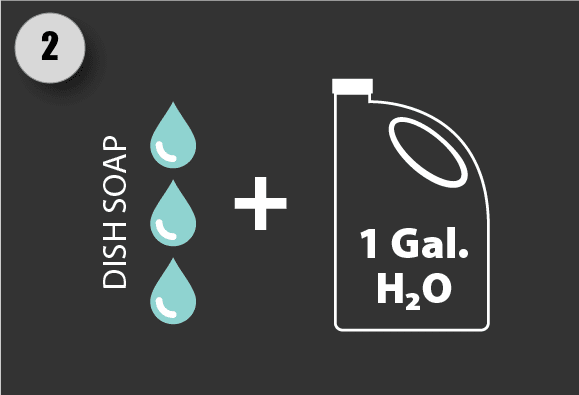
Create application solution by adding 3 drops of dish soap to 1 gallon of water. Mix it together and put in a spray bottle.
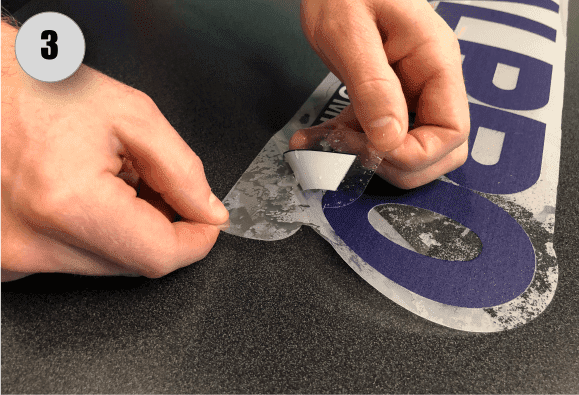
Remove the backing. Unlike dry decals, you can remove all of the backing at once.
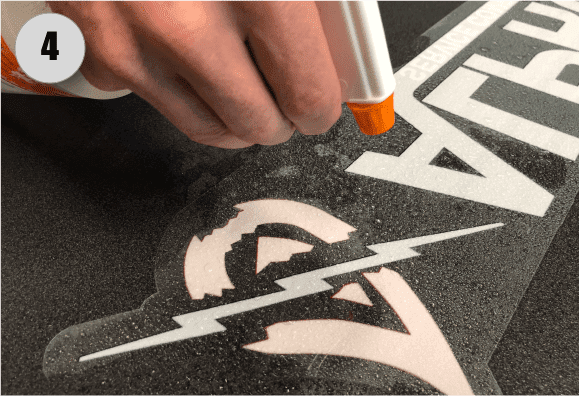
Spray surface and back of the decal with the application solution. Be sure to generously apply the application solution (do not submerge or soak the decal as too much liquid can ruin the decal). This will make it easier to move the decal around to the desired position on the application surface.
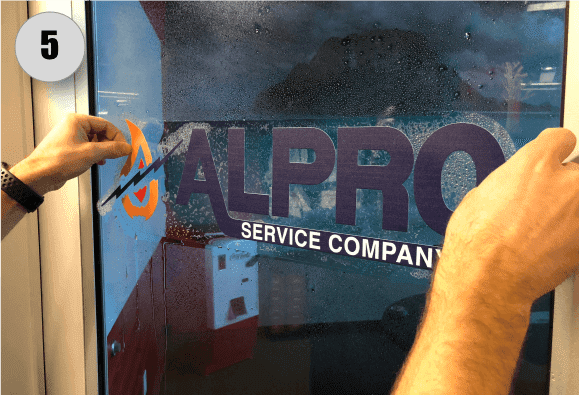
Position your decal how you want it. Use a level if necessary. Tip: Apply a strip of masking tape to the top of your decal and use that to properly position the decal and hold it in place. You can create a ‘hinge’ with the masking tape allowing you to lift the decal prior to removing the backing.
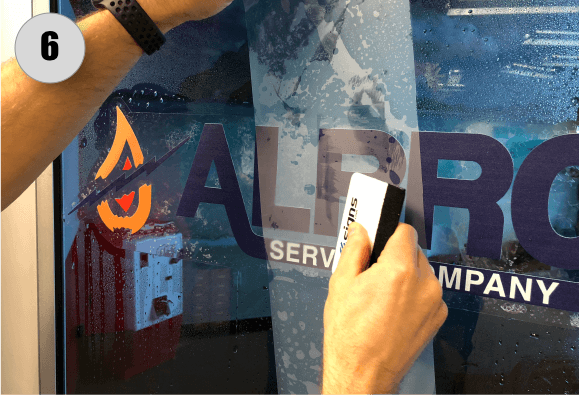
Apply pressure. Start in the middle of your decal and begin applying pressure using your hand or a squeegee, gradually working your way across the entire decal. Go slow, making sure to remove all of the application solution between the decal and the surface. As the solution is removed, the decal will begin to stick. For best results, we recommend that you use a squeegee.
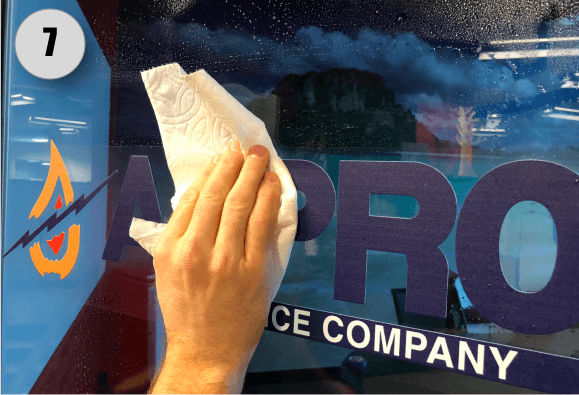
Finishing touches. Once you’ve reached this point, use a squeegee to remove any minor air bubbles and/or application solution—use a paper towel to completely dry the decal/surface.
It is important to note that these are general installation instructions and are not perfect for every product. We recommend checking the installation instructions for your specific product before installing.
For a more visual set of instructions, check out the videos below:
Related Articles
Floor Decals For Every Setting
Signage 101 – Installing Window
Signage 101 – Vinyl Lettering vs Clear Window Decals


