At Signs.com, we want to give you the best service available for creating your perfect sign. Our easy-to-use design tool allows you to upload your own design or create a design from scratch within the design tool itself. To help in your signage quest, we’ve compiled a step-by-step guide on how you can create and order a sign from our website, hassle free.
Step 1
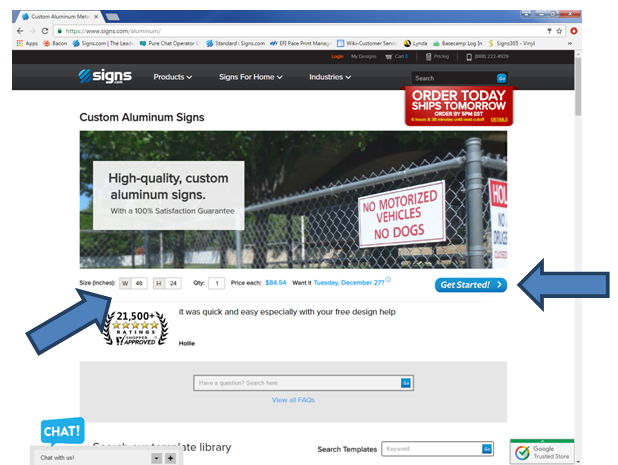
Go to Signs.com
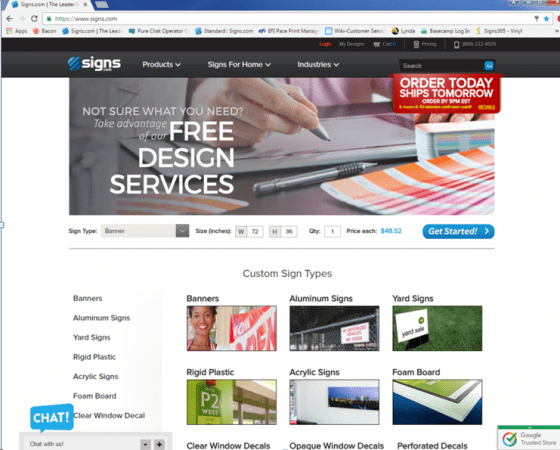
Step 2
Scroll down and select what type of material to use.
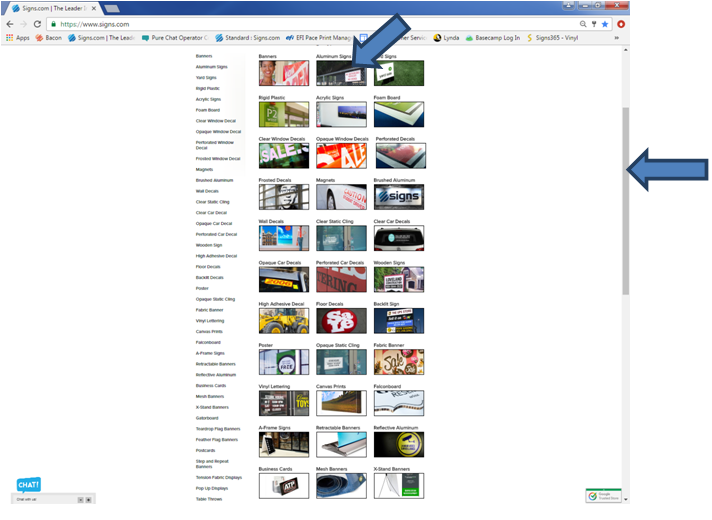
Step 3
Once you have selected the material, go ahead and enter in the width and height and select Get Started!
Step 4
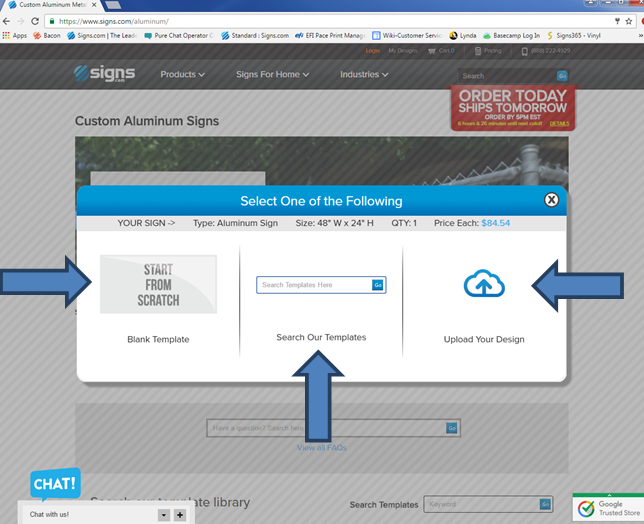
Select one of the following (If you are not sure click START FROM SCRATCH).
Step 5
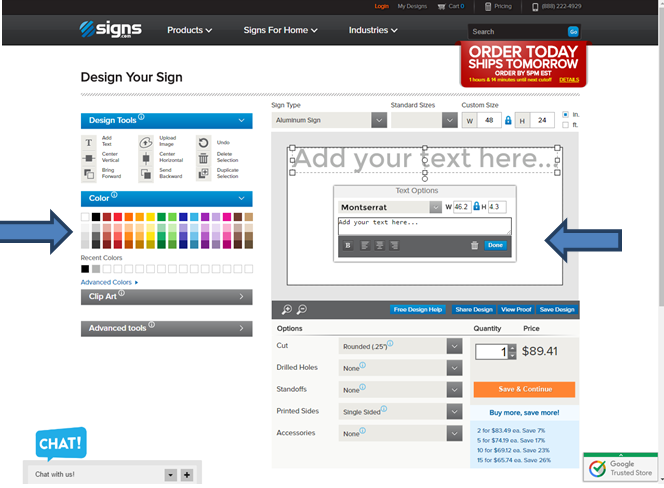
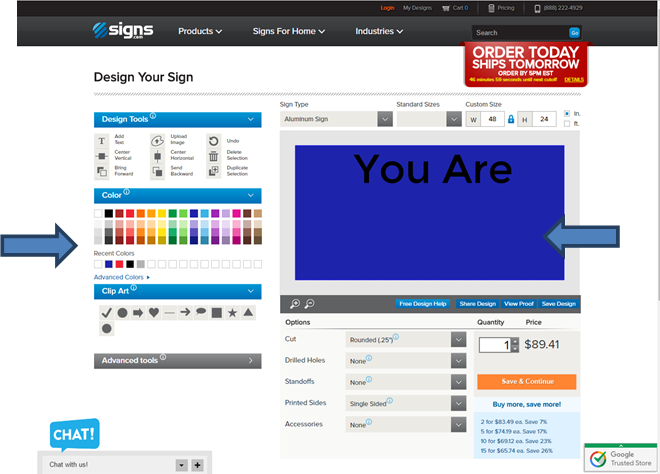
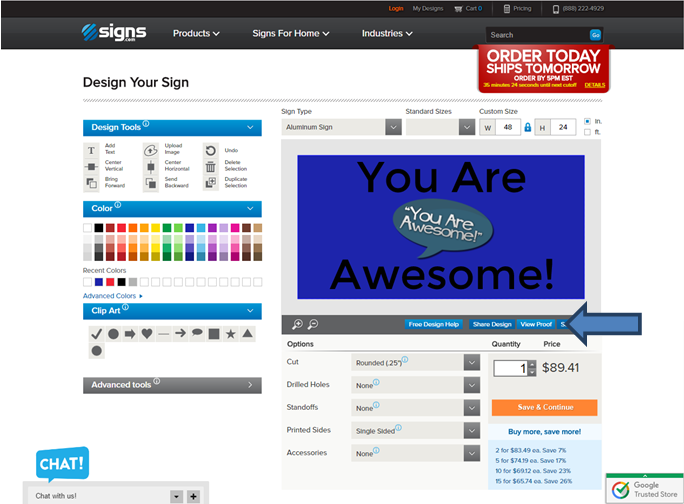
When you click START FROM SCRATCH it will bring you to the “Design Your Sign” page. From here you can add text, upload images, change colors and more under “Design Tools”.

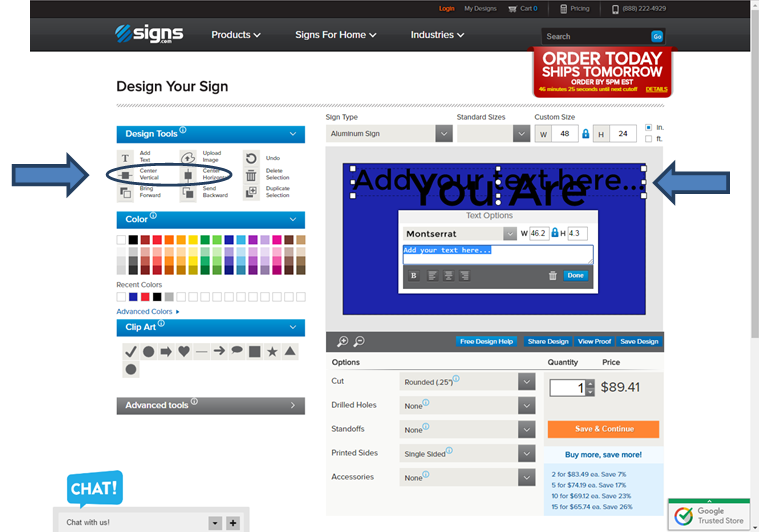
Step 6
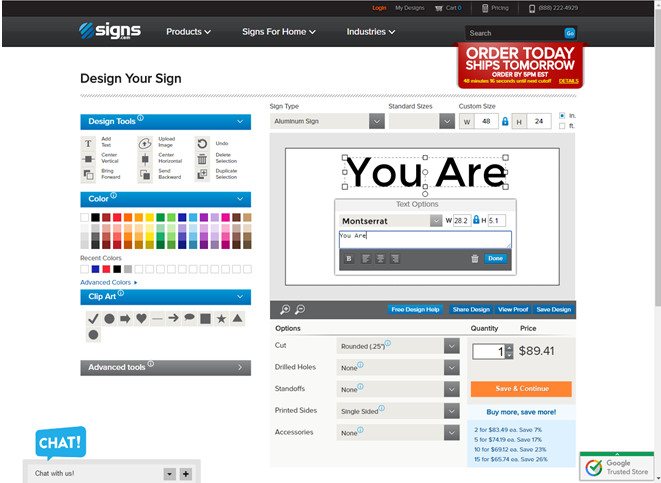
Select Add Text and a text box will reflect on your screen saying “Add your text here…”. From the Text Options box you are able to change what text you want, the font and the size of the text box. To change the color of the text you select the color while the text box is selected.
Step 7
If you want to change the color of the background, select part of the background and then select the color you wish to change it to.
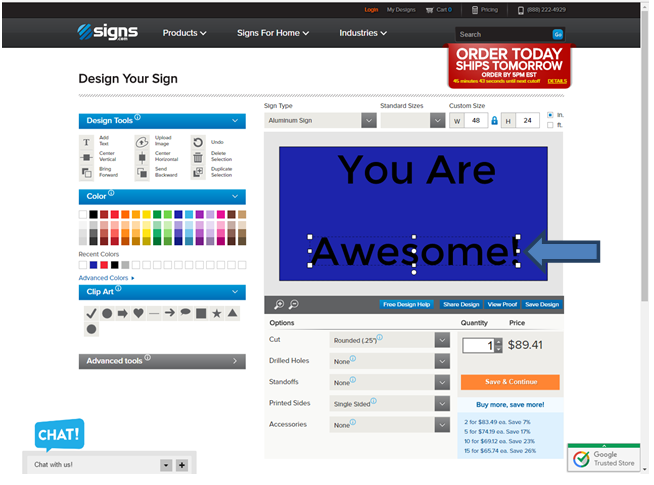
Step 8
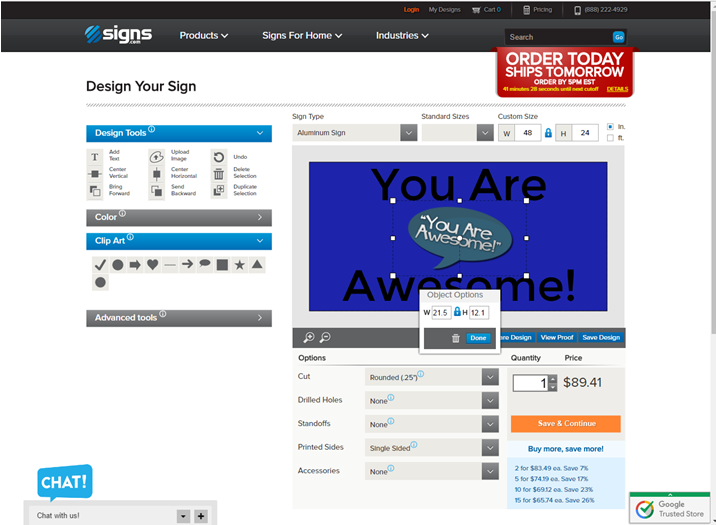
To add more text you can select Add Text again. You can click and drag the text box to where you would like it to be. You can center text boxes, clip art or uploaded image by using the Center Vertical or Center Horizontal buttons under Design Tools.
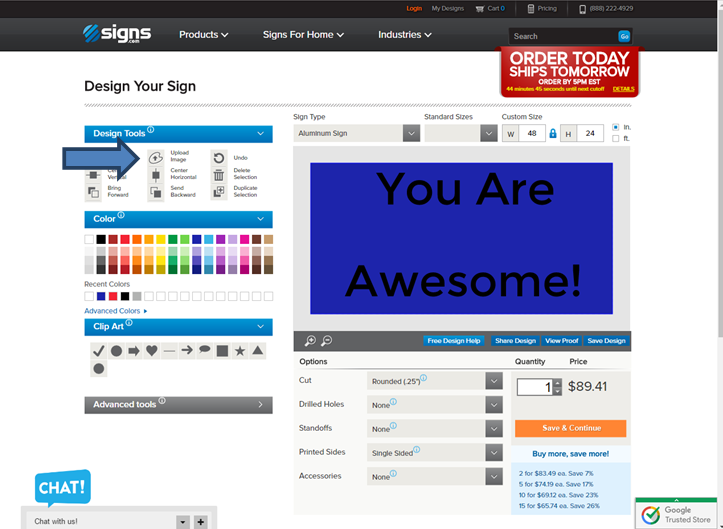
Step 9
If you would like to upload an image, you will click on Upload Image under Design Tools. Select File, locate image you would like to upload and select open.
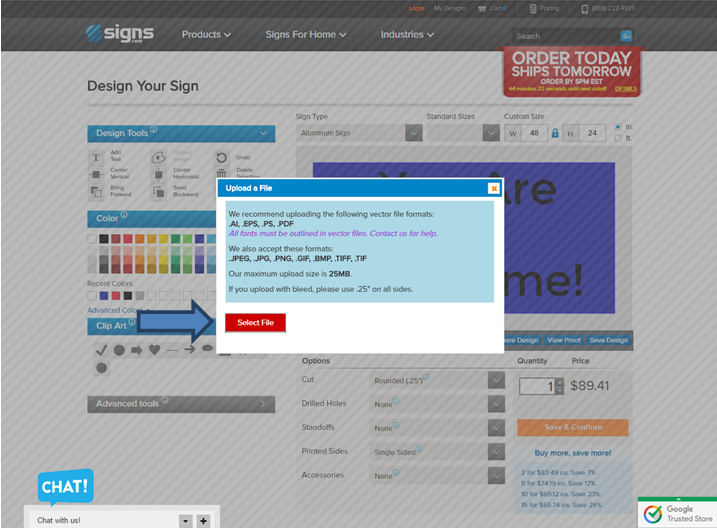
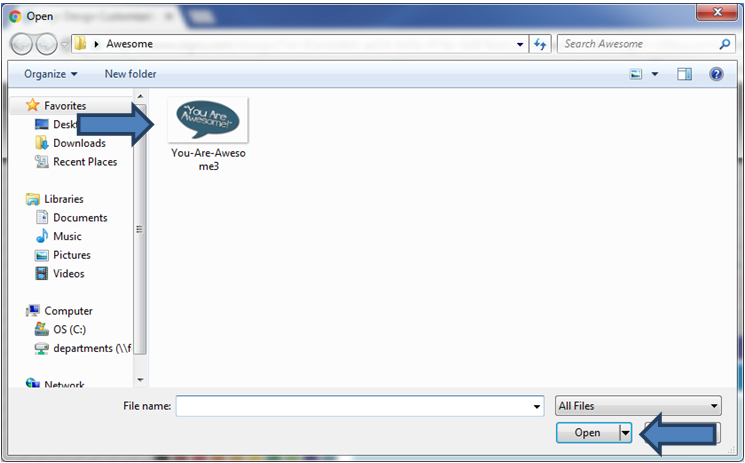
Step 10
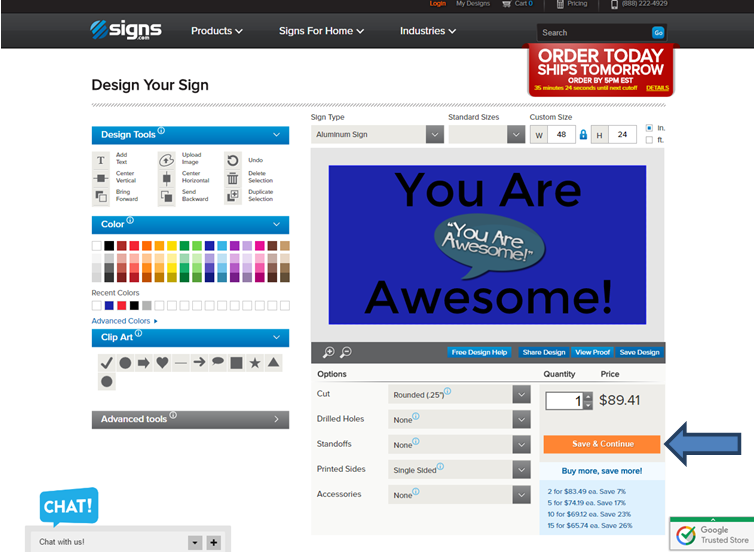
Once you have everything on your design, you can now select the options.
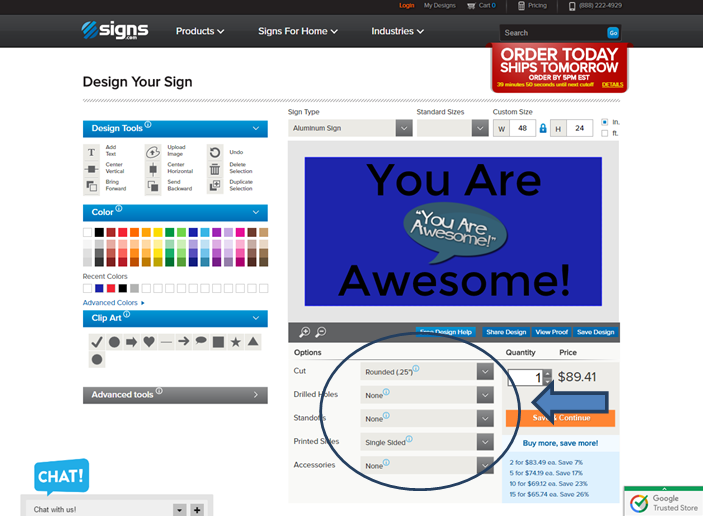
Step 11
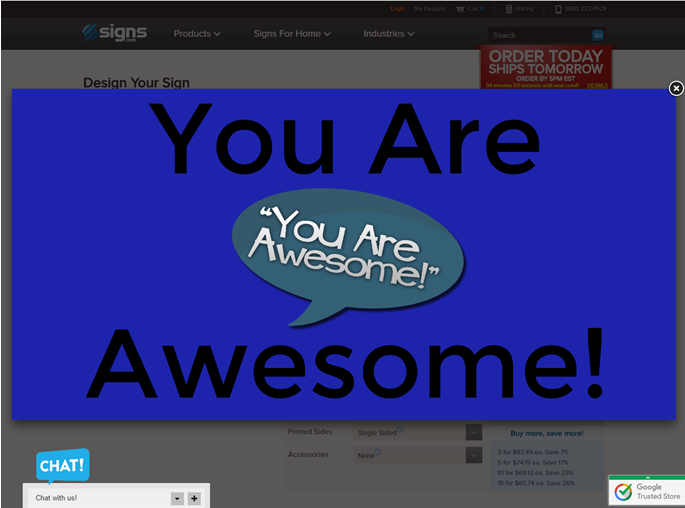
Once you have all of your options selected you can select View Proof which is located under your design to see it blown up. If everything looks good you can close out of the proof by selecting the x in the right corner.
Step 12
After you have viewed the proof you can click on Save and Continue. This will take you to the shopping cart.
Step 13
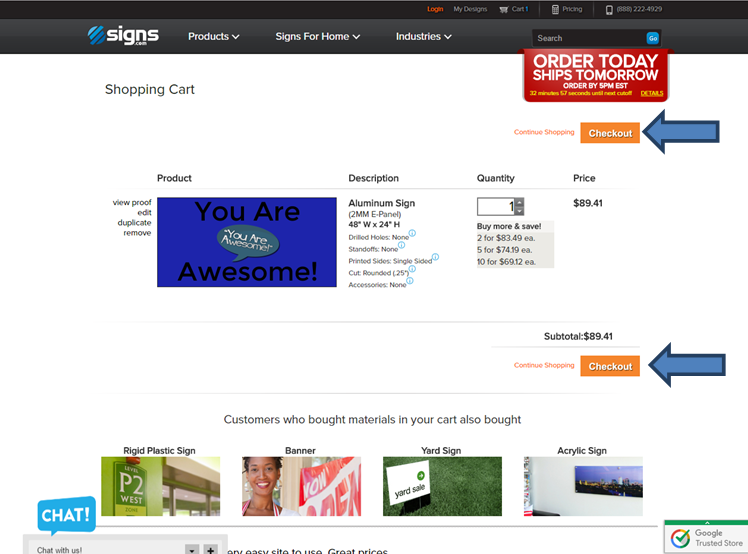
Once in the shopping cart, review your order and make sure everything looks correct (design, material, sizing, options, quantity). Then you will select Checkout, either on top or bottom.
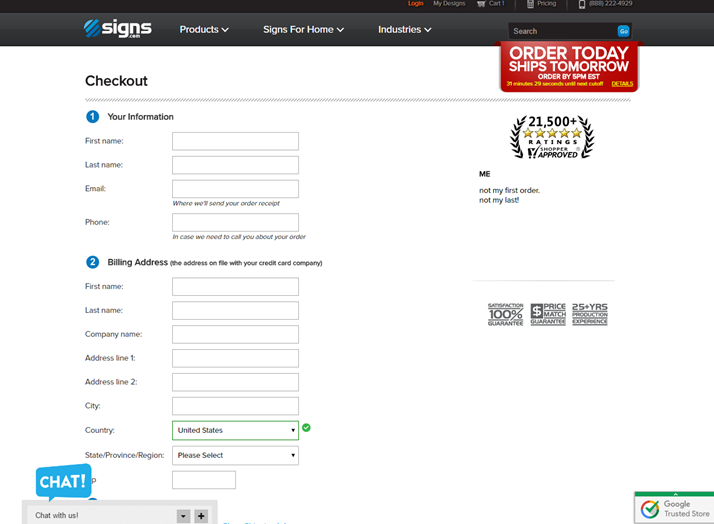
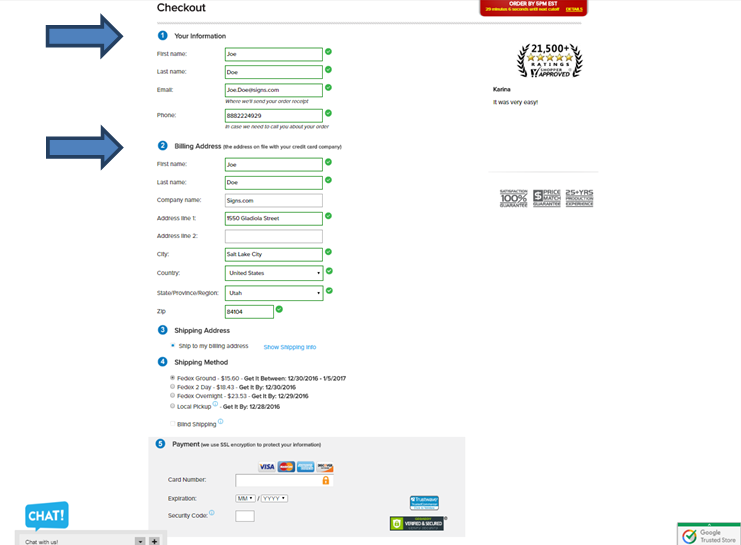
Step 14
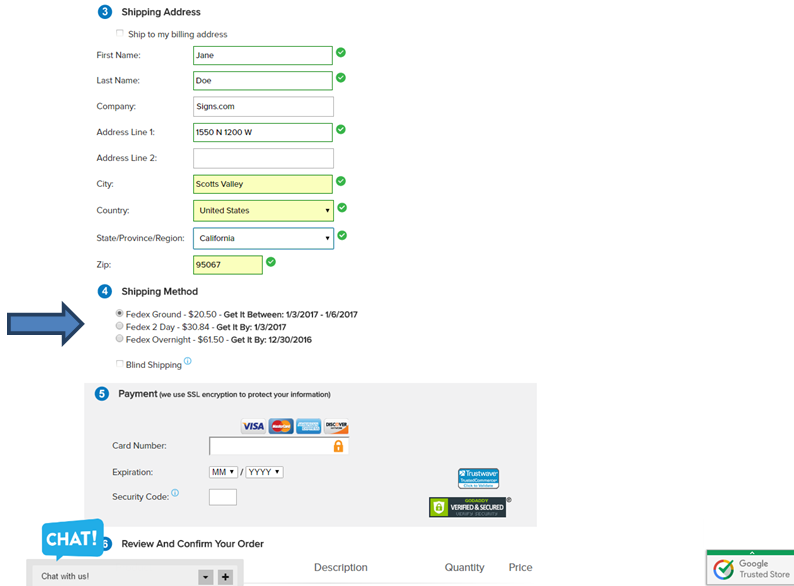
On the checkout screen you will fill out your information and billing address.
Step 15
If your billing address is different than your shipping address you can deselect Ship to my billing address and you can enter in your shipping address.
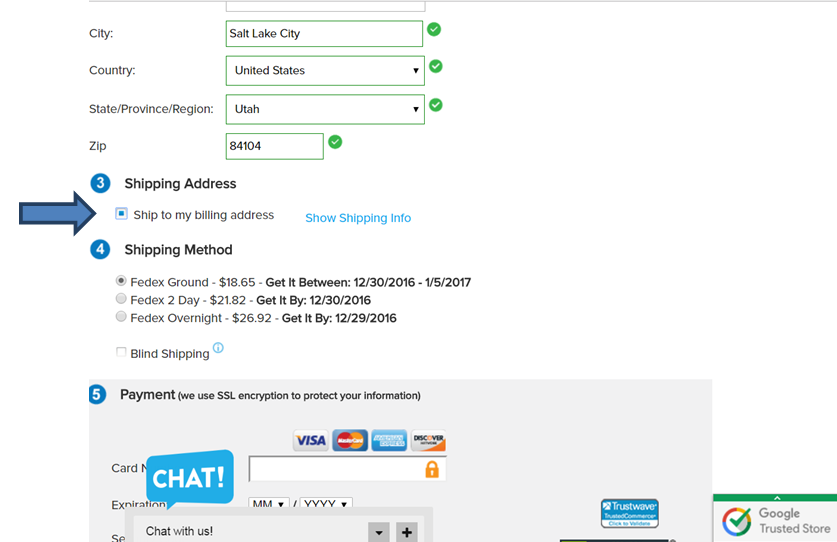
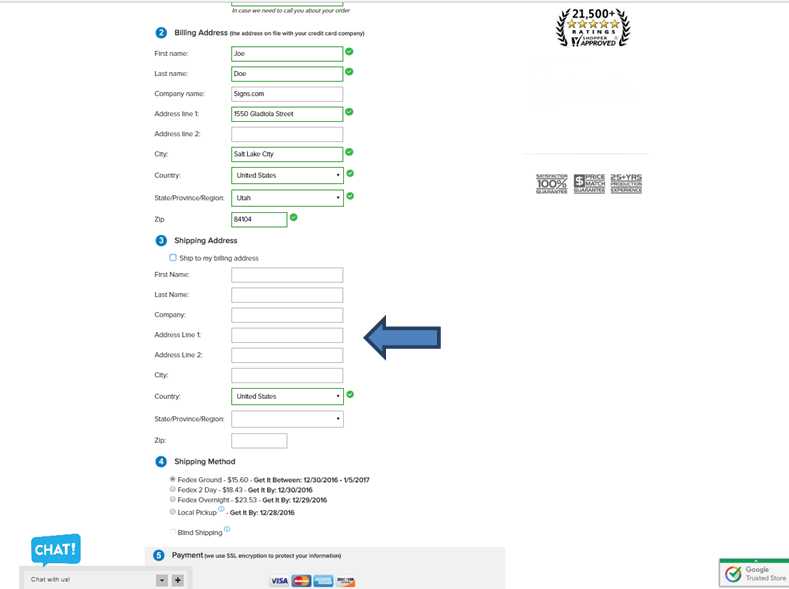
Step 16
Once you have entered in the shipping address you can select the Shipping Method, we offer UPS Ground, UPS 2nd Day Air and UPS Next Day Air Saver.
Step 17
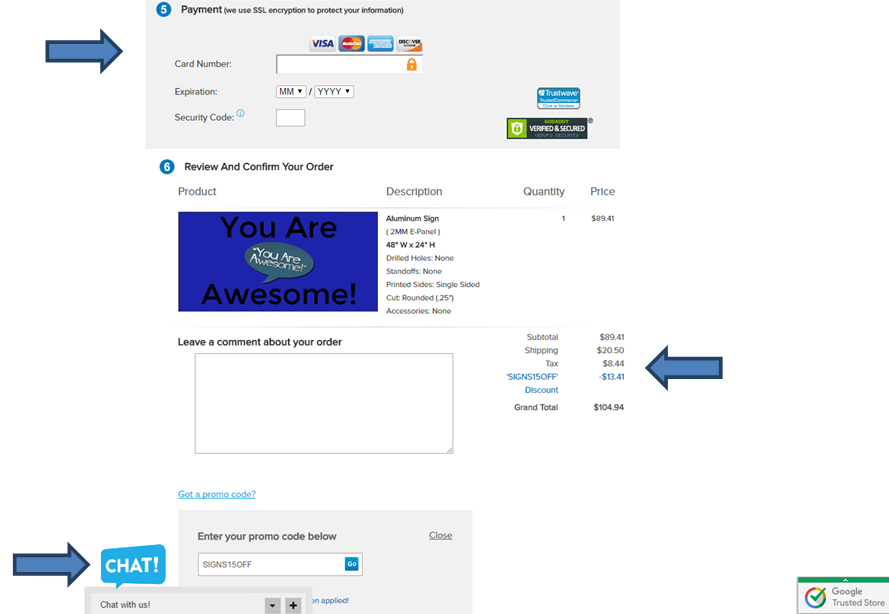
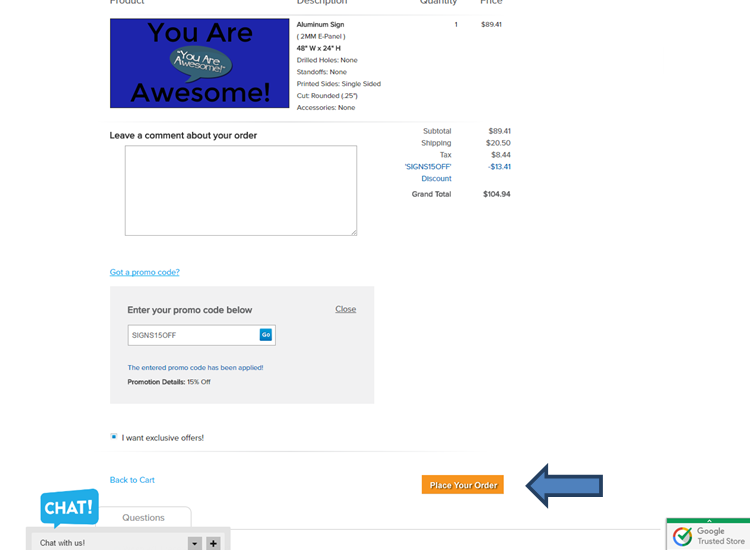
You can now enter in your Payment Info; we accept Visa, Mastercard, AmEx and Discover. If you have a promo code you can click on Got a promo code? which is below the “leave a comment” comment box. Once you enter in your code you can press go, and your code should reflect towards the grand total of your order.
Step 18
If everything looks correct you can click on “Place Your Order”.
Step 19
At this point, your sign is in our hands. Our team will review, produce, and ship it out to you within one business day of ordering!