


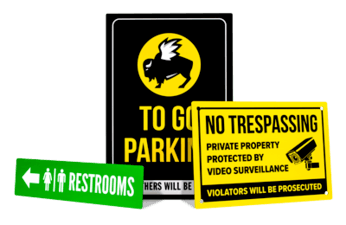


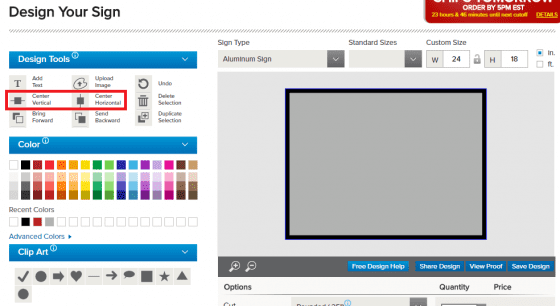
Signs need to be seen. If you order a sign and nobody looks at it, what is the point of displaying the sign? There are some design elements that can help draw attention to a sign, such as colors, artwork, and borders.
Borders can draw attention to the information that is inside. Many different kinds of borders can be added to a design. Decorative borders add style to the design, and can be added directly to the design file and uploaded to the website. Solid borders can also be added to the design file, or it can be created by following the steps below on the Signs.com design tool.
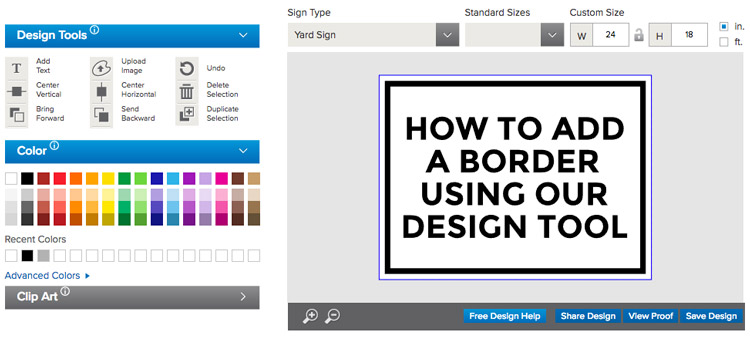
Step 1
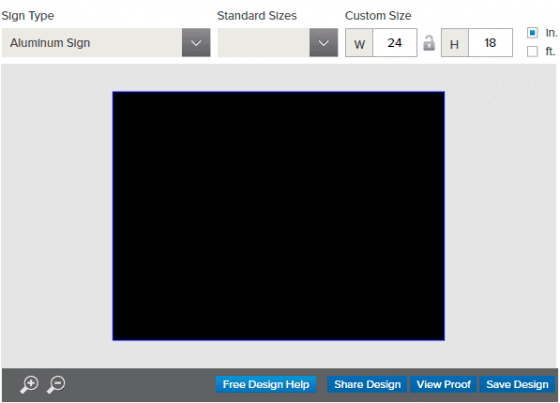
Click on the background and change the background color to the color of border you are wanting.
Step 2
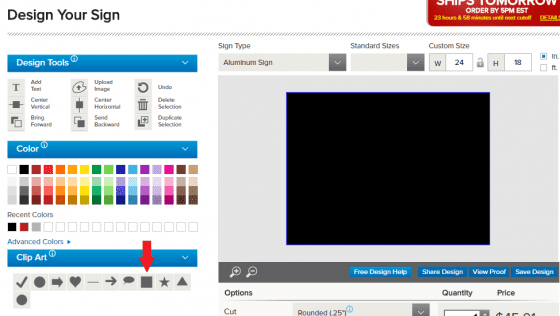
Go to the Clip Art Tool and select the square shape.
Step 3
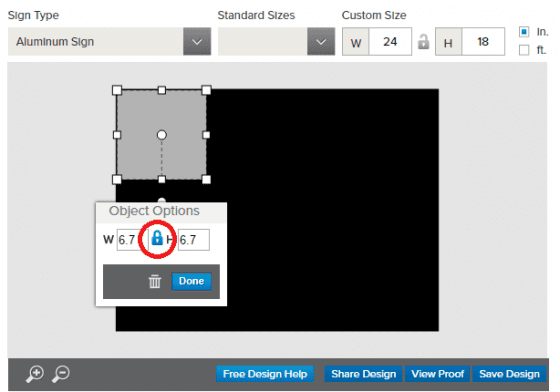
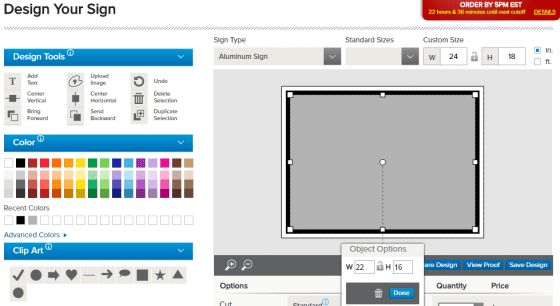
Click on the blue lock on the Object Options box so that it turns gray and looks unlocked.
Step 4
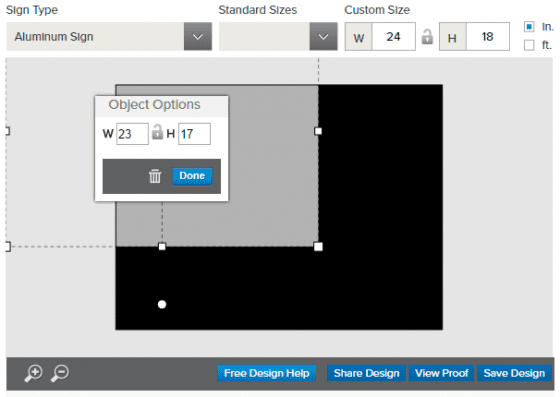
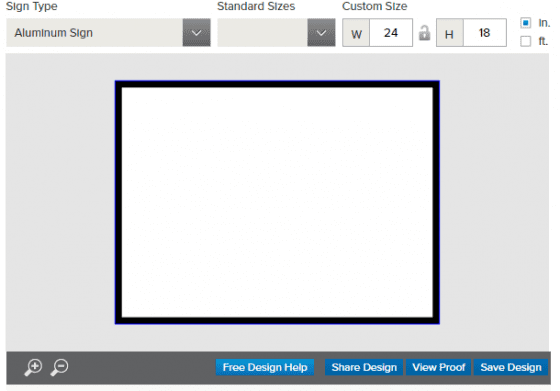
Change the size of the square to be 1” smaller than sign you are ordering.
You can make it bigger or smaller depending on how thick you are wanting the border. Ex: If you are ordering a 24” x 18” sign, make the square 23” x 17”
Step 5
Use the Center Vertical and Center Horizontal design tools to center the square on the screen.
Step 6
Change the color of the square to be the color of background you are wanting.
Step 7
Click the Send to Back button in the design tools until you see your text show up.
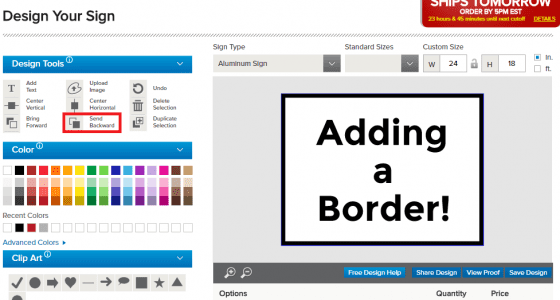
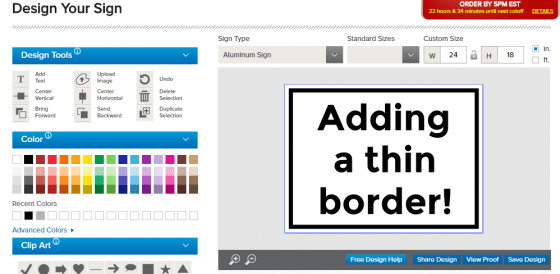
Not all borders have to go to the edge of the sign. Some borders are a thin line around the whole design. The following steps are similar to those above, but you are creating one more layer so that the border doesn’t go all the way to the edge of the sign.
Thin Borders
Follow steps 2-7 above, but make the color of the square the color of border you are wanting. *If the color of the border is the same as the text, you will not be able to see your text when you click on Send Backward, but it is still important to do step 7.

Add an additional square to the design and make it a little smaller than the square added above. Two inches smaller than your actual sign will leave you with a 1 inch wide border.
Follow steps 5-7 above
Either border can be used on the sign and still create the desired outcome: drawing attention to the information inside the border. In a few, easy steps, your signs will be ready to be seen.