Creating a vinyl banner becomes much easier once you understand the main decisions involved. Your choices in material, finishing, design, and installation all influence how well the banner performs once displayed.
Below is a simple step-by-step breakdown of the process:
- Pick the vinyl weight that fits your project. You can choose either 13 oz. or 18 oz. vinyl for your signage.
- Decide on edge finishing and how the banner will be mounted.
- Build a clean, high-contrast artwork.
- Select a size that matches how far viewers will be.
- Print using durable materials suited for outdoor exposure.
- Install the banner securely with grommets, rope, zip ties, or poles.
Each stage contributes to visibility, readability, and longevity.
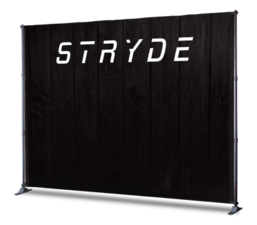
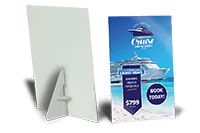
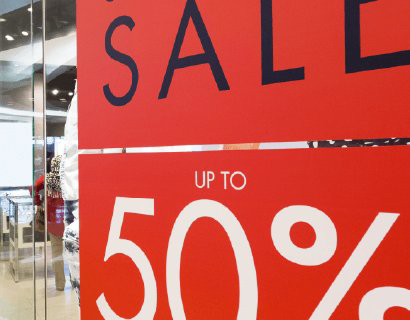
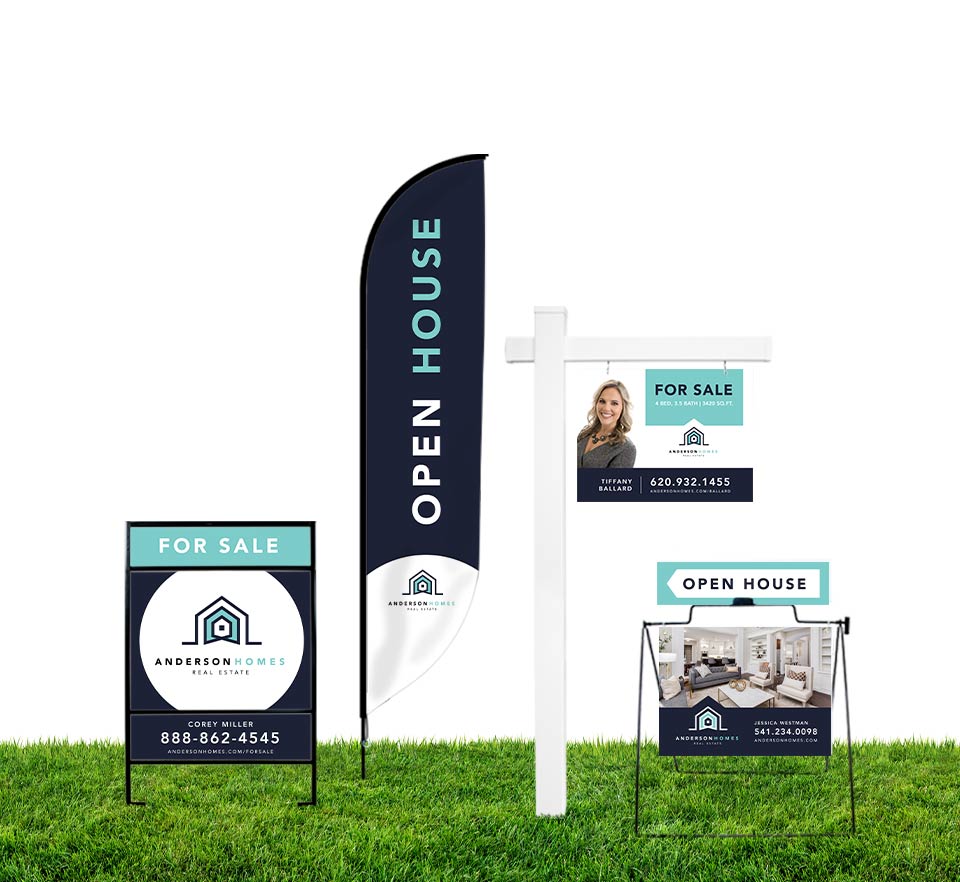
Why Vinyl Banners Still Matter
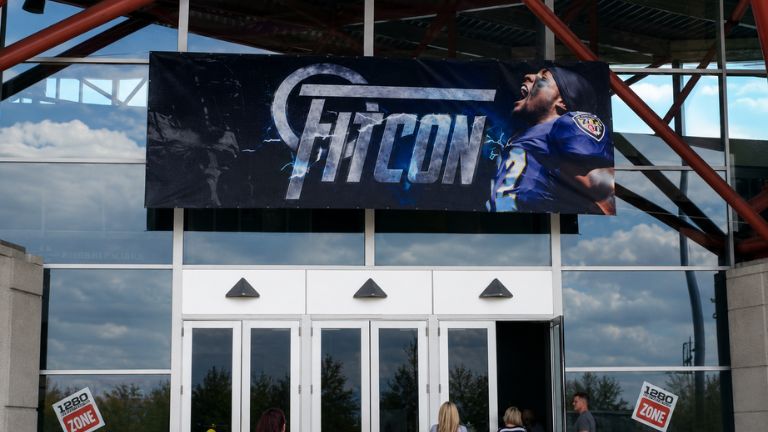
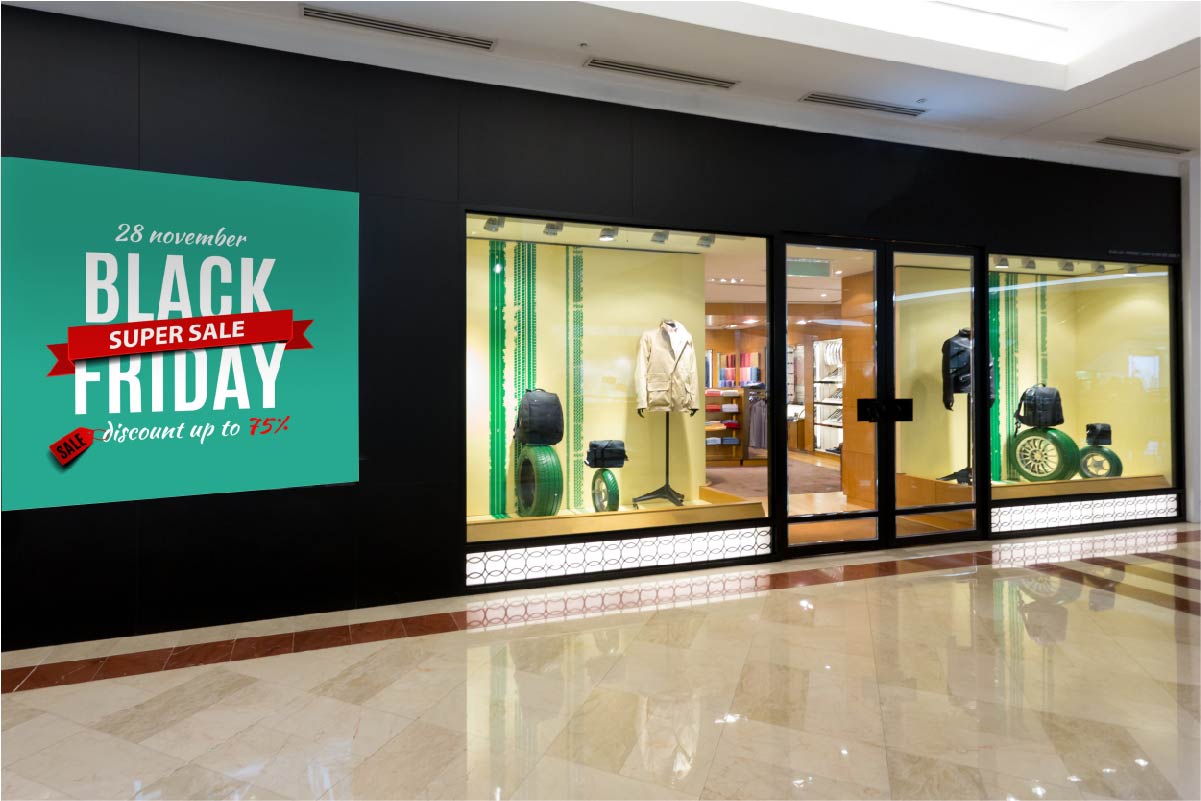
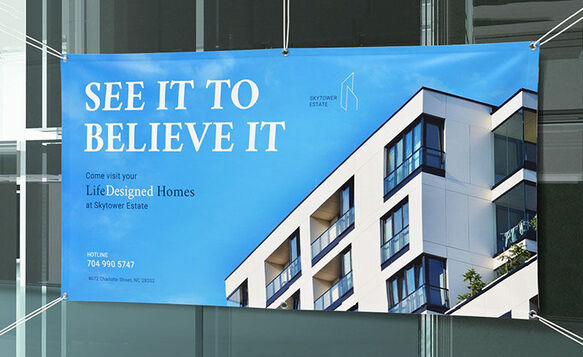
People absorb outdoor messages almost instantly, so your signage must stand out fast. Vinyl banners remain a reliable choice because they deliver bold visuals without requiring a large budget. They are often used for storefronts, streetside promotions, trade shows, temporary notices, and events.
Compared to many online ad formats, banners are inexpensive, weather resistant, and easy to display again in the future. If you are new to producing banners, it can be tricky to understand which material, finish, or size will work. The guide below walks through your options and explains how to build an effective banner from start to finish.
Vinyl Material Options
Signs.com offers two vinyl materials that perform well both indoors and outdoors.
13 oz. Vinyl
- Lightweight but durable
- Ideal for most single-sided banners
- Common in outdoor advertising and general promotions
18 oz. Vinyl
- Thicker and more rugged
- Supports double-sided printing
- Opaque enough to block light from showing through
Both materials include a scrim layer, which is a woven internal mesh that adds strength and keeps the banner from tearing under tension or wind stress.
If you need two-sided visibility, choose 18 oz. vinyl. If you only need one printed side, 13 oz. works well and is more economical.
Edge Finishing Options
Your edge finish affects how the banner holds up once installed.
Heat-welded hems come standard on 13 oz. vinyl. Welding helps prevent fraying and improves durability.
Flush-cut edges are available on 18 oz. vinyl. They create a clean, squared edge while still maintaining strength due to the thicker material.
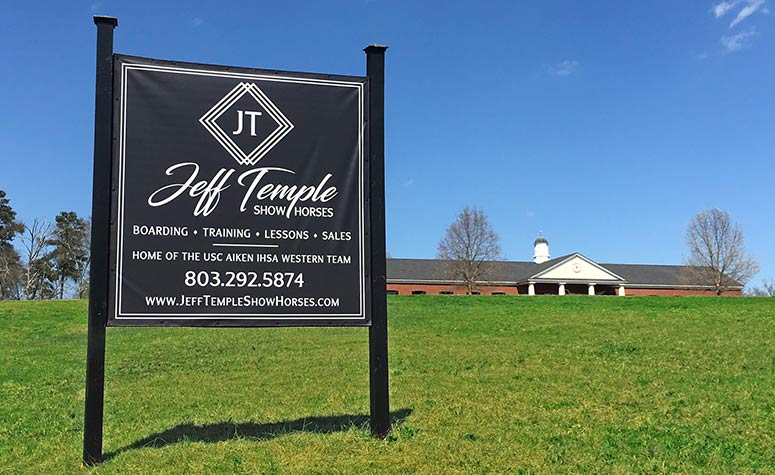
Display and Hanging Options
Mounting style is one of the biggest factors in long-term performance.
Grommets
Metal grommets make it easy to attach banners with rope, bungees, hooks, or zip ties. Large banners require more grommets to reduce sagging and keep the surface flat.
Pole Pockets
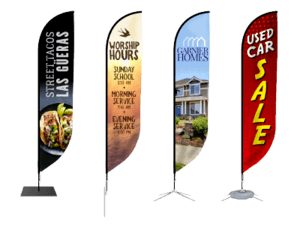
Pole pockets slide over a dowel or pole and are commonly used for parades, school displays, and indoor hanging. They can be added to the top, bottom, or both. Note that banners with pole pockets will not have welded hems.
Additional accessories like rope, zip ties, and Velcro tabs can help with installation.
How to Design a Vinyl Banner
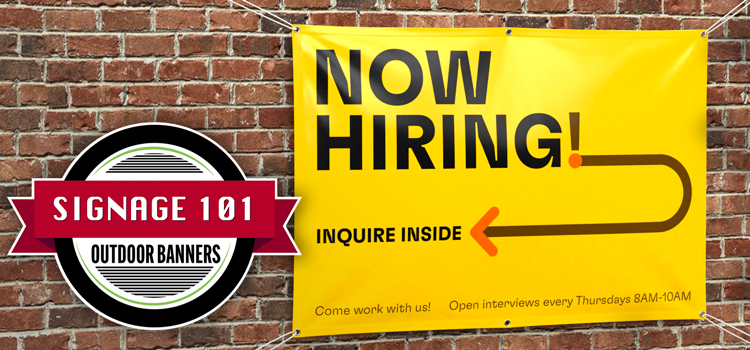
Vinyl banners are meant to be scanned quickly. A strong design uses a short message, bold text, and high contrast.
Consider Placement
Where the banner will hang determines your color choices, font size, and layout. Think about whether viewers will walk past it slowly, drive by, or see it indoors from close range. Choose colors that stand out from the surrounding environment while keeping brand consistency.
Match the Design to the Use Case
Parade or carry banners: 13 oz. vinyl works well because it is lighter. One-sided printing keeps costs down. Pole pockets help stabilize the banner during movement.
Street or post-mounted banners: 18 oz. vinyl is recommended for outdoor stress and double-sided visibility.
Clarify Your Message
Use one clear statement and supportive imagery, and avoid cluttering the design with elements that may take the audience’s focus away from your message. The farther people will be from the banner, the larger and simpler the text should be. Sans-serif fonts typically read best. Keep important elements away from the trim area to avoid accidental cutoffs.
How to Design a Banner Online
Once you have your concept, you can build the artwork using several methods.
Professional software like Adobe Illustrator and Adobe Photoshop provide full control but has a learning curve. Many online tools offer ready-made templates that help you design quickly, though some free versions add watermarks or limit export quality.
Signs.com provides an online design tool with customizable templates for sales, events, grand openings, and more. You can upload files such as AI, EPS, PDF, JPG, or PNG, or start with a blank canvas. Free design assistance is also available if you need help improving your layout.
After finalizing the design, select your material, finishing, and size, then place your order.
Common Vinyl Banner Mistakes
- Filling the banner with too much text
- Low contrast between background and message
- Using the wrong material for outdoor locations
- Putting logos and text too close to the edges
- Choosing text that is too small for viewing distance
- Forgetting to add grommets or spacing them too widely
Frequently Asked Questions
What banner size should I choose?
Match your size to how far away people will be. Large outdoor or roadside banners need oversized text. Indoor banners can be smaller because viewers can approach them.
Are vinyl banners waterproof?
Yes. Vinyl is naturally water resistant and holds up well under rain when printed with outdoor-capable inks.
How long will a vinyl banner last?
With proper care and installation, banners can last from several months to multiple years depending on the environment and vinyl thickness.
Can I use my banner more than once?
Yes. Vinyl banners can be rolled, stored, and reused for recurring promotions or annual events.
Create Your Vinyl Banner with Confidence
Making a vinyl banner is straightforward once you understand the materials and design principles. By selecting the right vinyl, choosing the proper finishing, keeping your message clear, and installing the banner correctly, you can produce signage that performs well in any setting. Thoughtful planning ensures your banner delivers strong impact wherever it is displayed.