Choosing the right menu display goes beyond just listing what’s on the plate. It’s one of the most powerful tools in your restaurant. It shapes first impressions, guides decisions, and influences how much customers spend. The right format can help you communicate your brand personality, enhance the customer experience, and drive more sales, all while fitting seamlessly into your space.
Whether you run a cozy café, a bustling quick-service spot, or an upscale dining room, we go over tips to help you choose the perfect menu boards for restaurants. From durable wall displays to flexible tabletop signage, here’s how to get the most out of your investment.
Top Menu Display Options for Restaurants
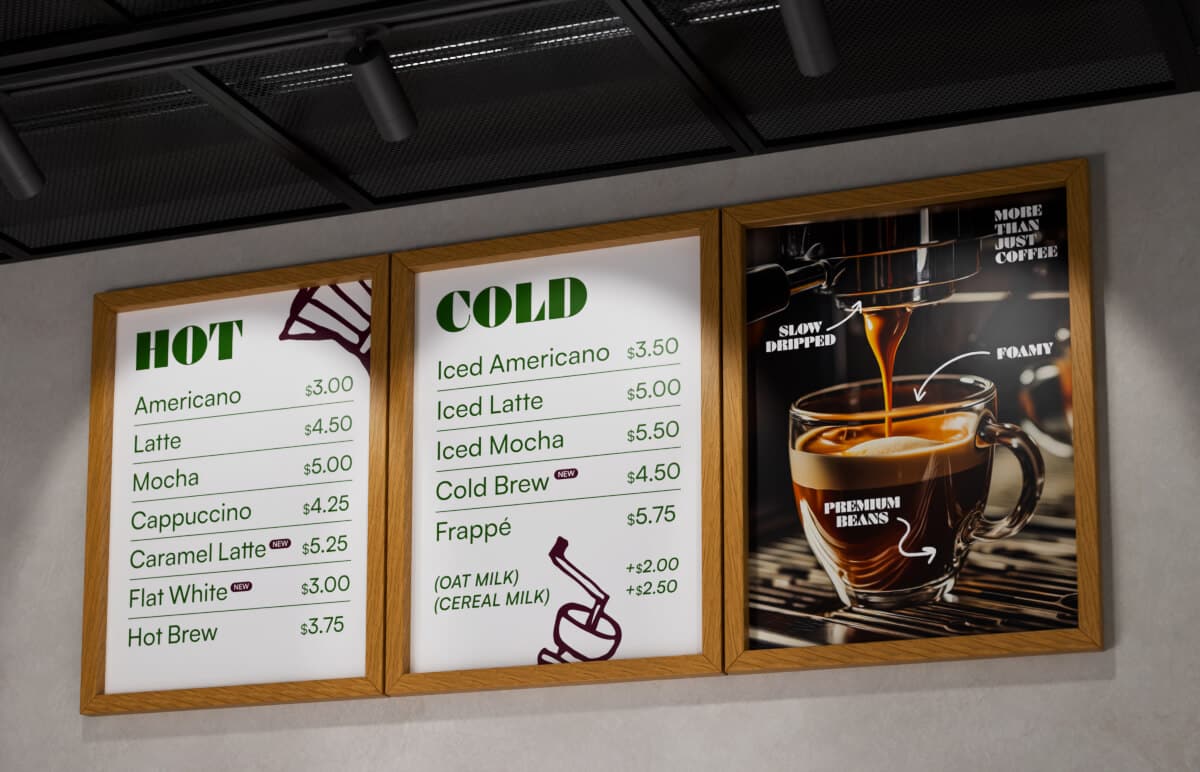
Wall-Mounted Menu Boards
Best for:
- Permanent indoor menus in cafés, fast-casual, and quick-service restaurants
- Full-menu displays behind counters or at ordering stations
Material:
- 5 mm Foam Board. Made from a core of styrene foam with smooth paper faces, this lightweight material is ideal for indoor mounted posters. It’s easy to install, affordable, and perfect for permanent or semi-permanent wall displays.
- 3 mm PVC Board. A more durable option that can be used both indoors and outdoors. PVC’s rigid structure and weather-resistant properties make it suitable for longer-term signage, and its smooth surface ensures vibrant, high-resolution printing.
Tips:
- Use bold typography and strong color contrast for readability from a distance.
- Consider backlighting or LED spotlights to make menu sections stand out.
- For menus that change seasonally, mount boards in sections so you can replace individual panels.
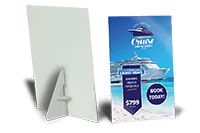
Freestanding A-Frame Signs
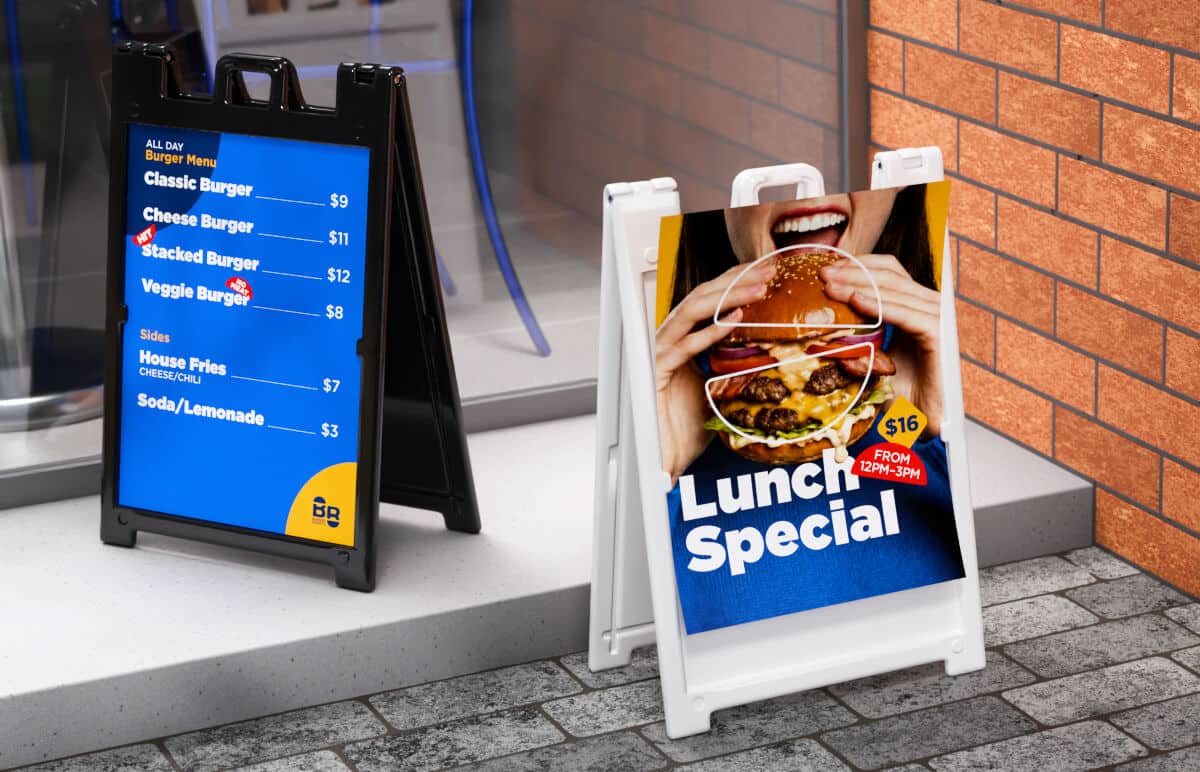
Best for:
- Outdoor menus, daily specials, and sidewalk promotions
- Catching attention from passersby or customers driving by
Material:
- Thick Plastic Frame. Durable enough for indoor or outdoor use in all but extreme weather. Lightweight and portable, A-frames are easy to set up, take down, and reposition.
- Corrugated Plastic Inserts. Your design is printed on removable inserts that slide into the frame or attach via Velcro strips. These inserts can be swapped out quickly, allowing you to update messaging as often as needed.
Tips:
- Place A-frames near entrances, sidewalks, or parking lots to increase visibility.
- Keep messaging short and impactful to catch attention quickly.
- Order multiple inserts to switch out specials or promos with minimal effort.
Tabletop Menus

Best for:
- Upselling drinks, desserts, or seasonal add-ons
- Highlighting limited-time offers directly at the table
Material:
- Cardstock Table Tents. Available in 10 pt. (.010”) and 14 pt. (.014”) thicknesses, table tents can be printed with gloss, matte, high-gloss, or uncoated finishes. They feature interlocking slits for easy assembly and can be replaced as often as promotions change.
Tips:
- Keep content concise and focused on one main promotion per side.
- Use mouthwatering imagery to boost sales of featured items.
- Pair with QR codes for easy access to the full digital menu.
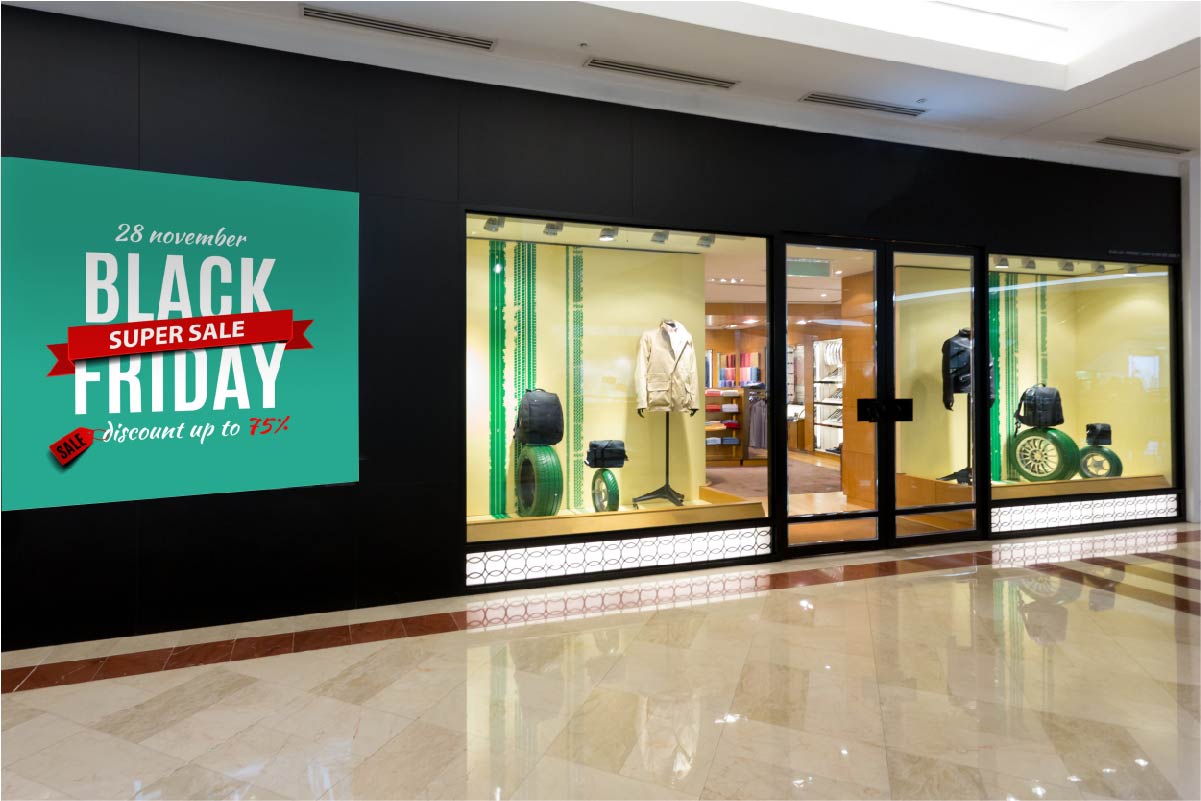
Window Menu Displays

Best for:
- Attracting passersby with key menu highlights
- Displaying hours, specials, or calls-to-action on storefront windows
Material:
- Clear Decals. Transparent vinyl that allows light through, ideal for subtle or minimal designs.
- Opaque Decals. Solid vinyl for bold, high-contrast graphics.
- Perforated Decals. Provide one-way visibility, letting you see out from inside while displaying a full design outside.
- Frosted Decals. Create an elegant, etched-glass look while displaying text or graphics.
Tips:
- Include a QR code linking to your full menu or online ordering page.
- Keep designs simple and legible from a distance.
- Layer decals with interior lighting to ensure visibility after dark.
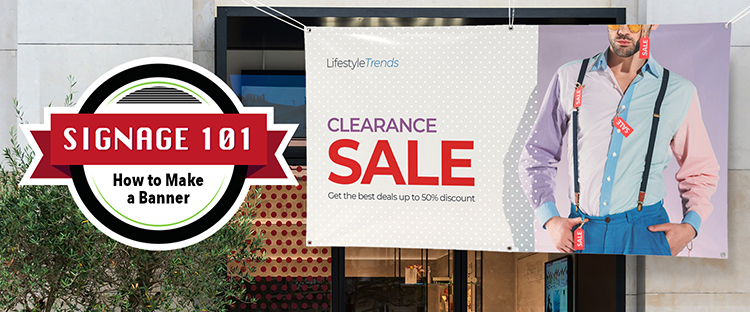
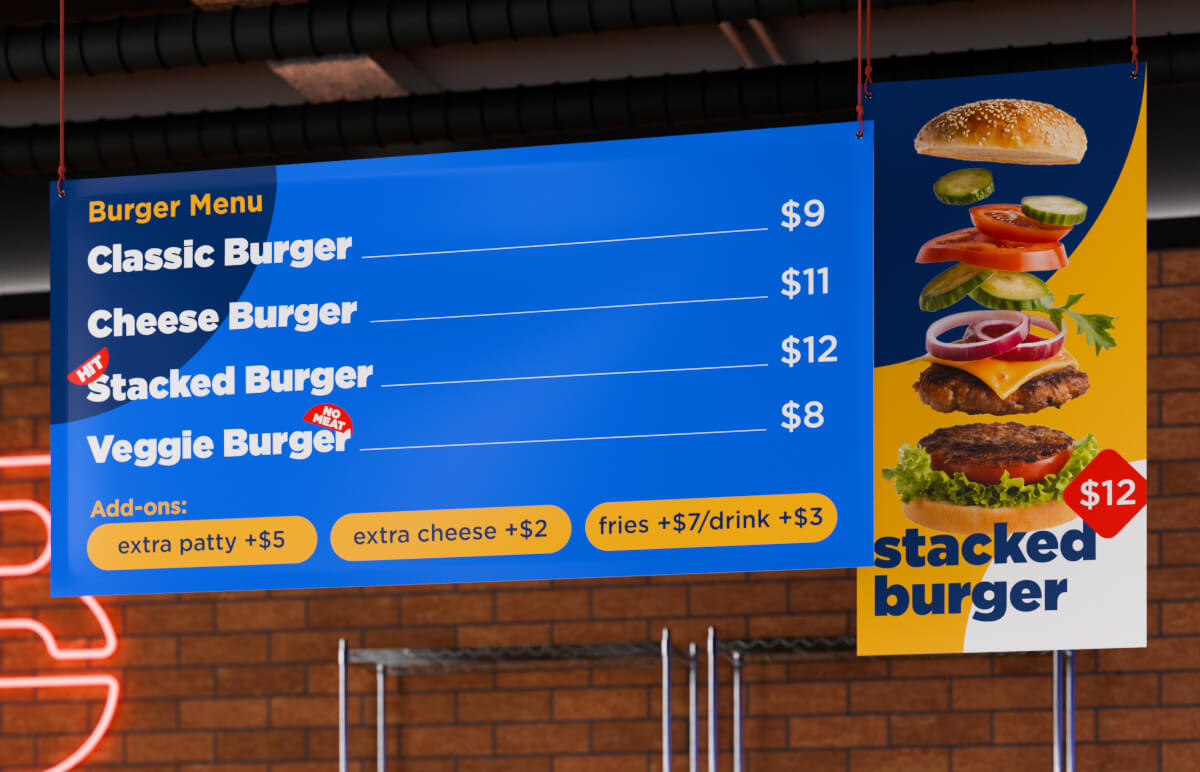
Hanging Menu Signs
Best for:
- Quick-service counters and fast-casual restaurants
- Overhead menus that customers read before ordering
Material:
- Vinyl Banners: Printed with fade-resistant UV ink on 13 oz. or 18 oz. high-quality vinyl. These banners are durable, flexible, and ideal for large hanging displays that need to be updated seasonally or annually.
Tips:
- Organize menu categories (e.g., drinks, entrées, desserts) for faster decision-making.
- Use large, clear fonts and spacing to improve readability.
- Position banners directly above ordering areas to guide traffic flow.
Chalkboard or Dry Erase Menus
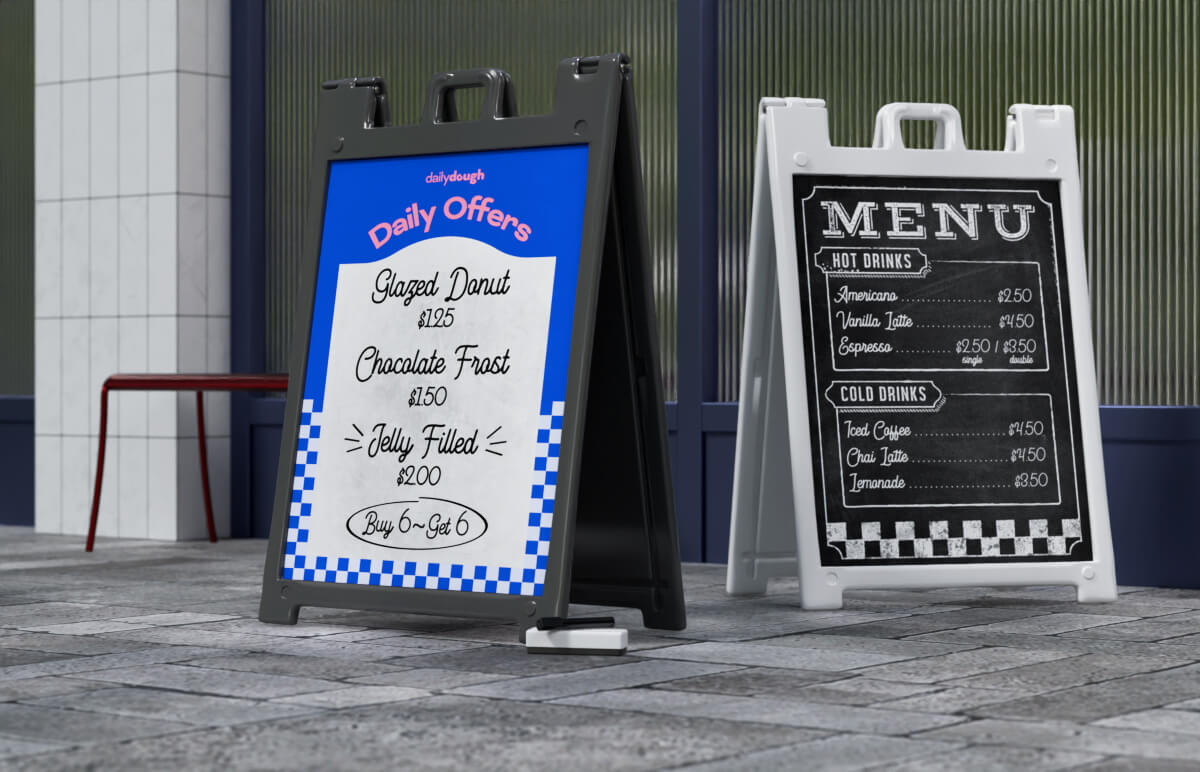
Best for:
- Cafés, bakeries, and restaurants with rotating menus
- Daily specials, seasonal offerings, or event-driven promotions
Material:
- Dry Erase PVC Panels. These signs feature a heavy-duty plastic frame with a smooth dry-erase surface, making them ideal for daily updates. The structure is similar to a sandwich board and is built for frequent writing and erasing without wear.
Tips:
- Use vibrant dry-erase markers or chalk pens for visibility and style.
- Keep handwriting neat and legible or use stencils for consistent lettering.
- Refresh the board regularly to keep your menu looking clean and updated.
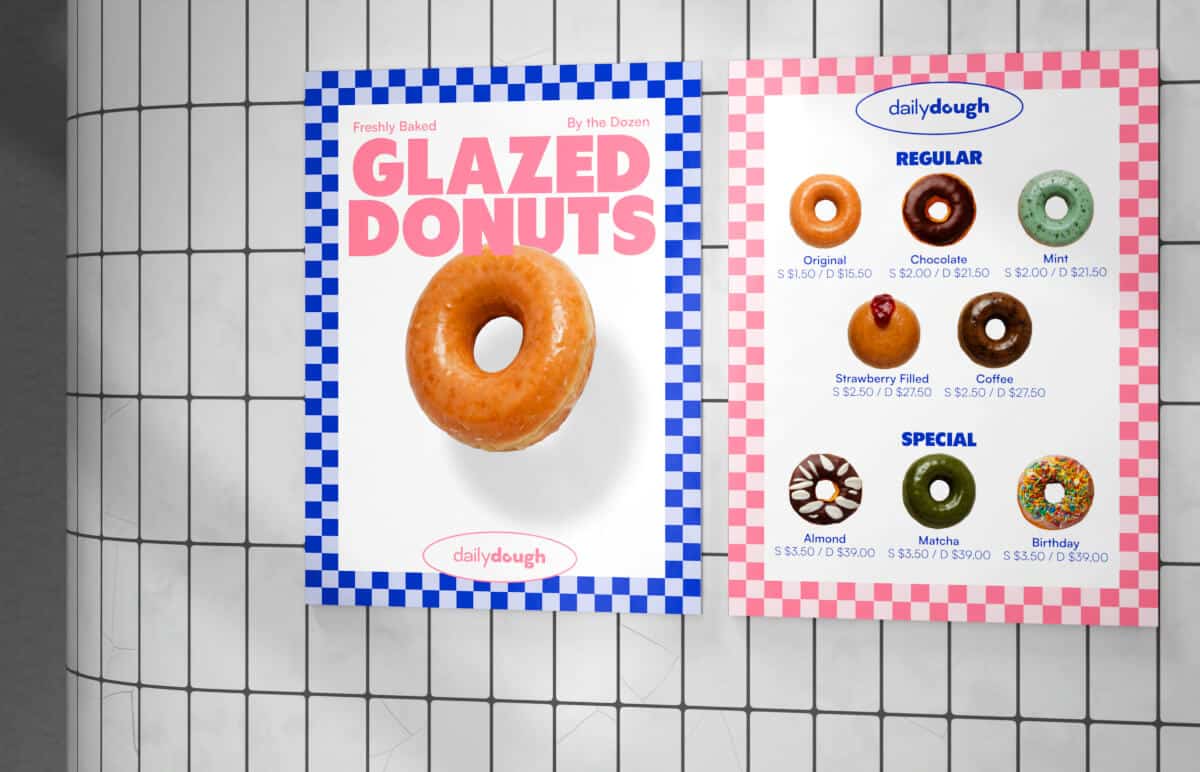
Poster Frames and Menu Inserts
Best for:
- Monthly specials, seasonal dishes, or limited-time offers
- Rotating menus that don’t require permanent signage
Material:
- Archival Photo Paper. Custom posters are printed with high-resolution detail on premium photo paper available in high gloss or semi-gloss finishes. These materials offer rich colors and sharp text, making them ideal for promotional signage.
- 24 pt. Cardstock Posters. Sturdy and lightweight, these posters are printed with high-performance UV ink for crisp, vibrant results. They’re durable enough to last over time yet easy to mount, prop, or hang with poster snaps, making them a versatile choice for temporary or promotional displays.
- Mounted Posters (Foam Board or PVC): For a more rigid and long-lasting option, mounted posters are printed directly on either 5 mm foam board or 3 mm PVC plastic using high-quality UV ink. Both materials deliver vibrant color reproduction and excellent durability, with PVC offering added weather resistance if you plan to display them outdoors.
Tips:
- Use front-loading frames for quick poster swaps.
- Keep designs consistent with your main menu branding.
- Highlight “New” or “Chef’s Pick” items with bold callouts.
Outdoor Drive-Thru or Takeaway Menus

Best for:
- Quick-service restaurants, food trucks, or drive-thru lanes
- High-traffic outdoor environments
Material:
- Aluminum and Metal Signs. Constructed with two pre-painted sheets of .008” aluminum and a solid polyethylene core (about 1/13” thick overall). These signs are rustproof, weather-resistant, and extremely durable, making them ideal for permanent outdoor installations.
Tips:
- Use large fonts and simple layouts for easy readability from vehicles.
- Consider backlighting for nighttime visibility.
- Place signage at eye level for drivers to improve ordering speed.
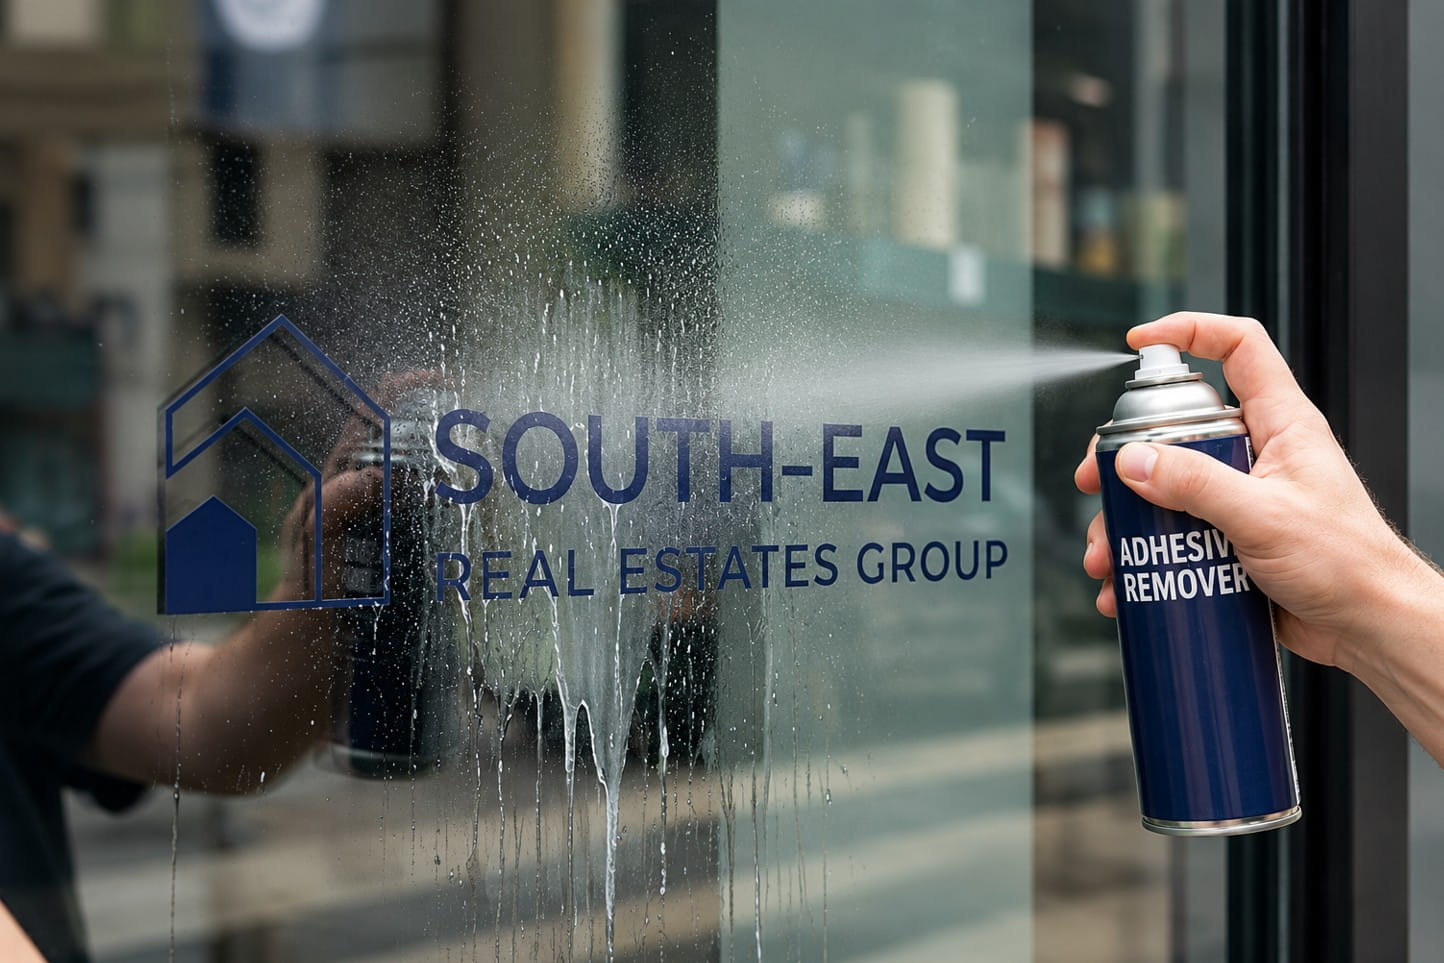
Digital-Printed Wall Graphics
Best for:
- Modern interiors and brand-driven restaurant concepts
- Immersive wall menus or large-format visual branding
Material:
- Vinyl Wall Decals. Printed with full-color graphics on adhesive vinyl, wall decals create seamless, floor-to-ceiling menu displays. They are durable, removable, and easy to replace when it’s time for a refresh.
Tips:
- Incorporate brand stories or sourcing details to engage customers.
- Use decals to direct foot traffic or define ordering areas.
- Update seasonally to keep the design fresh.
Countertop Displays
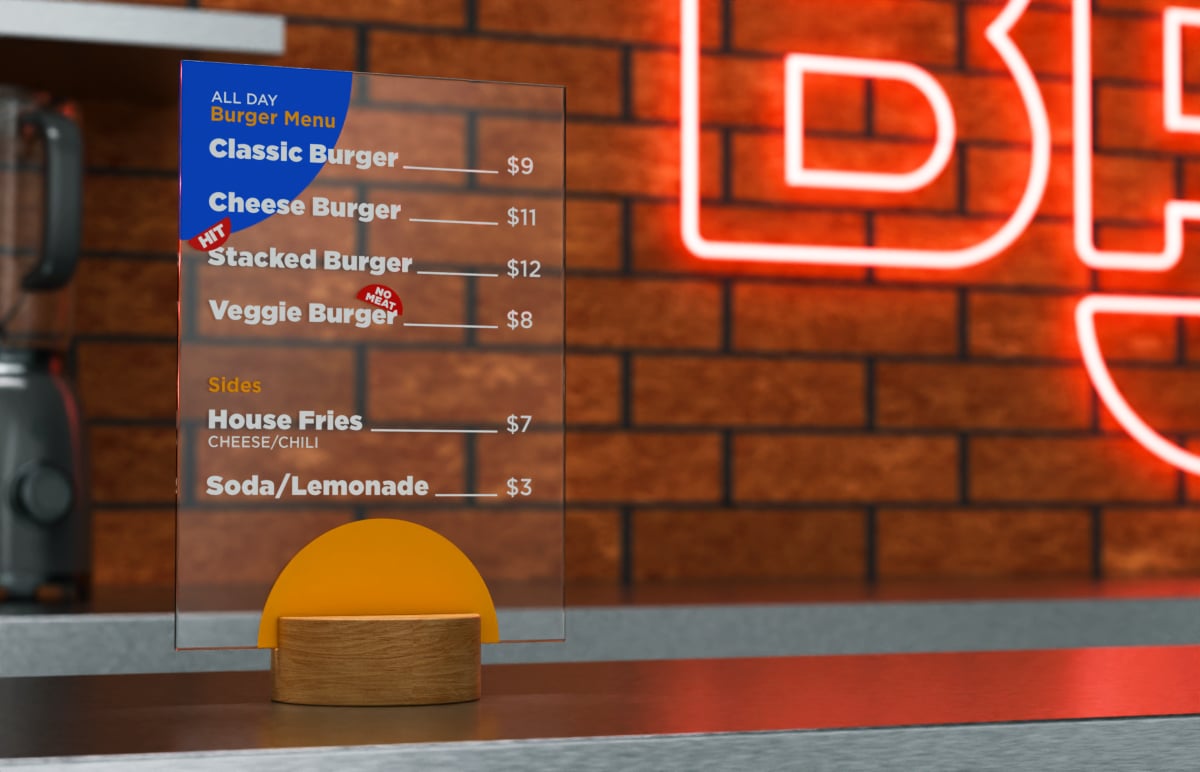
Best for:
- Promoting add-ons, loyalty programs, or impulse buys
- Highlighting desserts, beverages, or meal upgrades at checkout
Material:
- Acrylic Signs: Made from transparent, durable cast polymer, acrylic offers the clarity of glass without the weight or fragility. UV-printed designs ensure long-lasting color, while the surface can also support applied vinyl lettering or decals.
Tips:
- Keep messaging short and action-oriented.
- Position displays where customers make final purchase decisions.
- Combine with limited-time offers to boost conversions.
How to Choose the Right Menu Display for Your Restaurant
- Consider your format. Quick-service and fast-casual restaurants need signage that’s visible from a distance, while fine-dining venues often use tabletop or framed menus.
- Think about menu change frequency. If you update daily, use dry-erase surfaces, poster inserts, or decals. For static menus, foam board, PVC, or aluminum are ideal.
- Factor in location. Outdoor signs need weather-resistant materials like aluminum or heavy-duty vinyl. Indoor signage can focus more on print quality and aesthetic.
- Take branding and experience into account. Your menu is part of your story. Wall decals feel modern and immersive, while chalkboard surfaces add a handcrafted, artisanal touch.
Menu Design and Placement Tips
- Typography. Choose large, legible fonts with clear category headers.
- Contrast. Use high-contrast color combinations for easy readability.
- Hierarchy. Highlight bestsellers and signature items at the top or center.
- Placement. Position signage at eye level or along natural sightlines.
- Lighting. Ensure proper lighting to keep menus visible day and night.
Your menu is an integral piece of branding in your restaurant. By matching the right menu display for your restaurant with the right material, you can create an experience that’s functional, beautiful, and memorable. Whether you’re designing a permanent wall installation or swapping out weekly specials, investing in quality materials will help your restaurant stand out and keep customers coming back.