


Opaque Vehicle Decals
Select One of the Following

Let Us Design For You
Tell us what sign you want, how big you want it, and what you would like on it and we'll have it ready for you in no time!
OR
Design Online
No results found for "{{previous_search_keyword}}"
 158K
158K
Store Ratings
 Verified Purchase
Verified Purchase
Verified Purchase
Verified Purchase
Verified Purchase
Verified Purchase
Verified Purchase
Verified Purchase
Verified Purchase
Verified Purchase
Verified Purchase
Verified Purchase
Verified Purchase
Verified Purchase
Verified Purchase
Verified Purchase
Verified Purchase
Verified Purchase
Verified Purchase
Verified Purchase
Verified Purchase
Verified Purchase
Verified Purchase
Verified Purchase
Verified Purchase
Verified Purchase
Verified Purchase
Verified Purchase
Verified Purchase
Verified Purchase
Verified Purchase
Verified Purchase
Verified Purchase
Verified Purchase
Verified Purchase
Verified Purchase
Verified Purchase
Verified Purchase
Verified Purchase
Verified Purchase
Verified Purchase
Verified Purchase
Verified Purchase
Verified Purchase
Verified Purchase
Verified Purchase
Verified Purchase
Verified Purchase
Verified Purchase
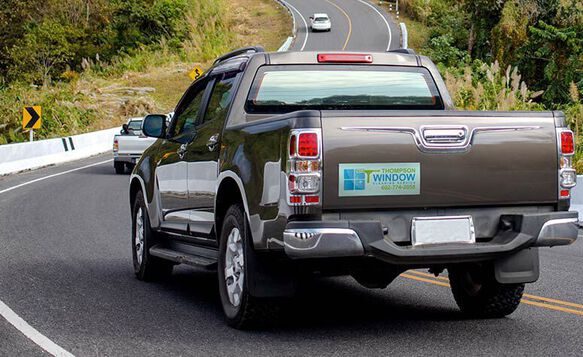
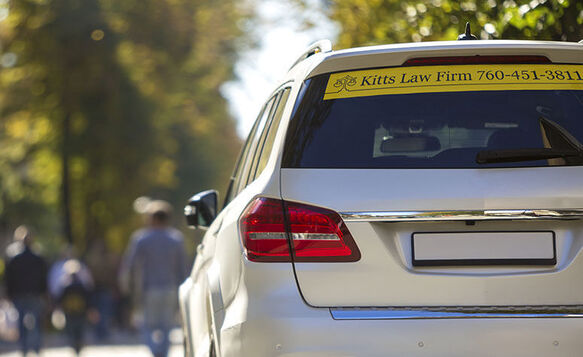
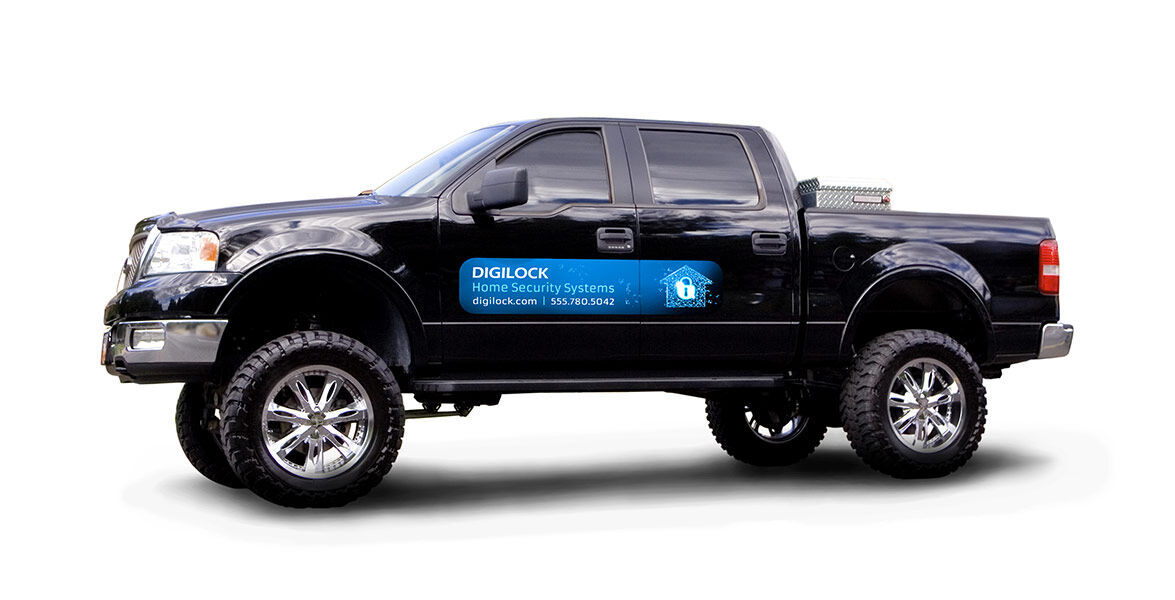
Car Decal Printing for All Types of Vehicles
If you’re looking for a way to make your fleet stand out whether you’re cruising the freeway or getting stuck in traffic, Signs.com’s opaque vehicle decals are the way to go.

- Can be applied to any vehicle
- Won't damage vehicle paint
- Can withstand most car washes
Why Signs.com?


What are Opaque Vehicle Decals?

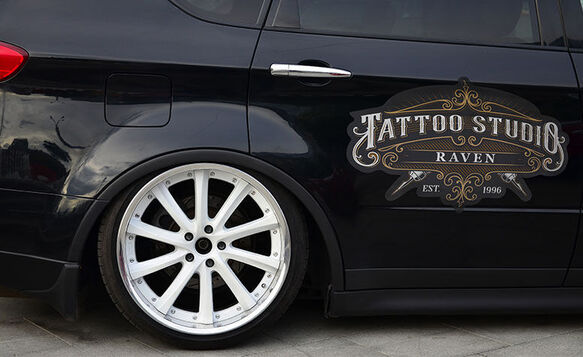
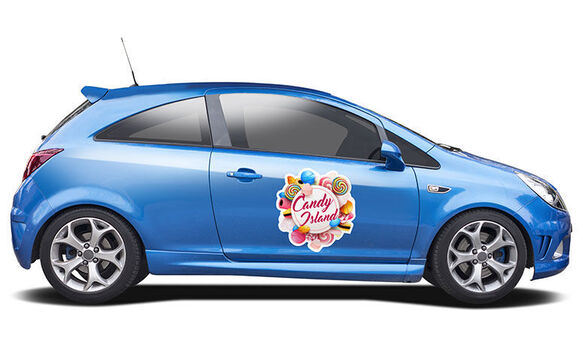
Custom opaque car decals are easy to install and are perfect for advertising your business or customizing your personal vehicle. Made from thin but durable adhesive vinyl, you can drive around with confidence knowing that your decal will instantly catch the eye of fellow drivers and pedestrians. The natural color of opaque car decals is white, but feel free to use any color with your design.
Vehicle decals can be used in different ways: advertising, branding, and even just as decor. Make your car decal personal and one-of-a-kind with our wide range of customization features and a message that will undoubtedly get it noticed.
Opaque Car Decal Features
Easy to Install
Install your opaque vinyl car decal in minutes without the need of professional help. Installation instructions are included with every order or can be found below, helping you know exactly what to do.
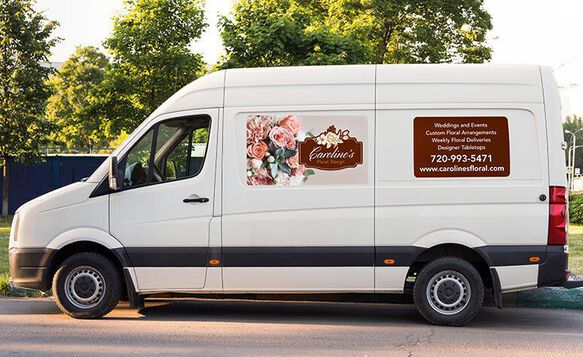
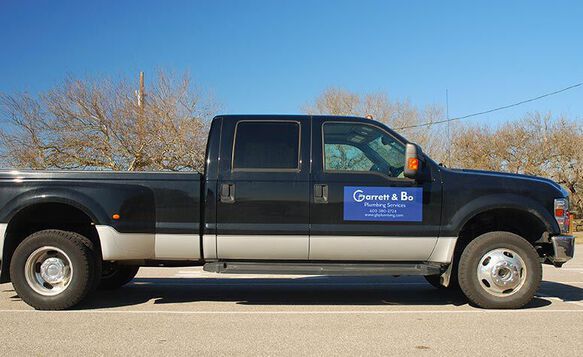
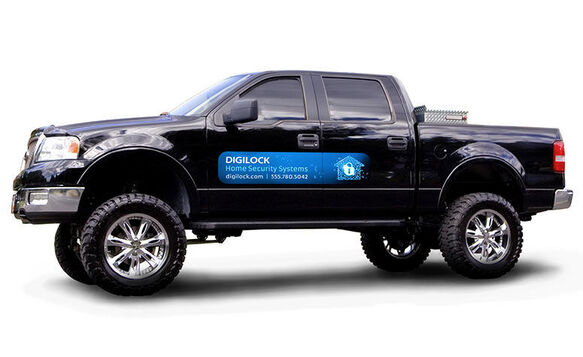
Single body decal or partial wrap
Opaque car decals are perfect for advertising on the side, hood, trunk or tailgate of your vehicle. Align and cut your decal when installing over seams to create a partial vehicle wrap.
Waterproof and UV-resistant
Made with durable 3 mil vinyl and water/weather/UV resistant ink, your opaque decal is made to withstand even the harshest weather conditions for over five years.
Cut-to-shape options
Custom and custom with border options available, allowing you to customize the shape of your vehicle decal.
Additional Specs
-
Weight:
.09lbs per square foot (about the weight of 9 Quarters)
-
Thickness:
3 mil (.003”) About the thickness of 1 sheet of copy paper
-
Details:
White, versatile, bubble-free finish
-
Uses:
Indoor/Outdoor. Vehicle doors, body and windows. Business advertising, vehicle graphics and decor
-
Print Method:
Four color process, eco-friendly, weather, fade and abrasion resistant UV ink
-
Estimated Lifespan:
5+ years with proper placement and care
-
Common Sizes
6”x6”, 12”x12”, 24”x12”, 36”x12”, measure to cut
Popular Opaque Vehicle Decals Templates
Turn heads wherever you go with these popular templates for opaque vehicle decals. Customize your preferred design as much as you want using our online tool!


How To Use Our Opaque Vehicle Decals Templates
Follow the steps below to transform any of our vehicle decal templates into a one-of-a-kind design.
- Choose the template you want to start with from our opaque vehicle decals templates.
- Go to “Product Setup” to tweak your order’s dimensions, shape, quantity, and other specs.
- Use the built-in customization features to modify the template. Add photos from our stock image library, insert your business name and contact details, add shapes, and replace the background with your own brand colors.
- If you have an existing artwork that you want to incorporate in the design, upload the file in JPG, PNG, GIF, TIFF, BMP, AI, SVG, EPS, or PDF.
- Click “Save and Continue” to proceed with checkout.
How to Install Opaque Car Decals
The following instructions are to help you have a successful, timely install of your opaque car decal. The installation is a simple process and requires no professional help. We recommend installing your decal in an environment that is dry with a temperature above 40 degrees Fahrenheit.

Clean the desired surface with soap and water, removing all dust and dirt particles. If dust and dirt is not fully removed from the surface this may cause small air bubbles in your decal and prevent it from adhering properly. After cleaning the surface, either allow time for the surface to air dry or remove excess water with a rubber squeegee.

Before you remove the backing from the decal, we recommend placing it on your vehicle to ensure that the size and fit are as you want. A dry erase marker can help you mark the edges where you want your decal to be applied.

Gently remove the backing by peeling the decal away from a corner. If you’re having difficulty, a piece of scotch tape placed on the backing can help create a tab for you to grip and peel away the decal.

Carefully place the decal onto the desired surface. We recommend holding the decal upright with two hands near the top and placing only the top edge to the surface first, then use your hands to guide the decal on a little at a time. At this point only apply the decal lightly. If you need to reposition or adjust the decal you should be able to slowly and carefully peel the decal away from the body of the vehicle and reposition before the adhesive fully sets in.

Once the decal is in place, use a squeegee* to remove air bubbles and small pockets. When using the squeegee, start in the center of the decal and move in a straight line to the right and left side of the decal—then move up and down working out any pockets or bubbles. Continue this process until you have ran the squeegee over the entire decal. You’ll want to use some steady pressure with the squeegee to work out the pockets. You may place the back liner on top of your decal during this process to avoid damage to the decal. Once the squeegee process is complete, you will not be able to reposition your decal.
**Note: If you are installing an “inside glass” opaque car decal, use a wet installation method: Mix 3 drops of household dish soap to 1 gallon of water. Use a spray bottle to gently spray that solution onto the adhesive side (printed side for inside glass) of your decal as well as the application surface. Place the decal onto the surface and move it around while it is still “wet” to the desired position. Finally, use a squeegee to remove all bubbles and excess water. Dry to finish.
Download or Print Opaque Car Decal Installation Instructions PDF

Taking Care of and Removing Your Opaque Vehicle Decal
Like all car and truck window decals, wash your opaque decal regularly to maintain appearance and longevity. Regular washing helps to prevent dirt and road grime build up. These decals are safe for most car washes. However, do not apply high pressure water for long periods of time to avoid having the decal start peeling. To remove the decal, simply peel back a corner using a razor blade and then pull the remaining decal away from the body or surface of your vehicle. You can also use the razor blade to remove any remaining adhesive residue. Be careful not to scratch the installation surface if sharp objects are used during removal.
EASY TO USE
DESIGN TOOL

Create your custom opaque car decal with our simple and easy design tool. Upload images, create objects, add text, adjust sizing, change color, and so much more!
Check It Out
FREE PROFESSIONAL
DESIGN SERVICES

Whether you need help uploading your design or are interested in creating something entirely new, our team of professional graphic designers is here to help. Nothing beats free!
Learn MoreAll Car and Vehicle Decals

Lettering
No background, letters and objects cut to exact shape
Clear
Clear background, any color combination available

Opaque
White background, any color combination available

Perforated
Perforated material, best for covering entire windows

Permanent Decal
White background, designed for permanent use

Questions and Answers
Initial storage can be done by rolling the decal or laying it flat in a cool and dry location. If stored, rolled heavy objects should not be placed on top of the decal as this can cause creases that may not come out. After installation the decal cannot be stored as it is a one use only product.
Your decal can be washed on a regular basis with a wet or damp cloth or rag that is non-abrasive in nature. Make sure that there aren’t any sharp objects or tiny rocks on the decal before wiping down gently.
Two things to avoid doing while the decal is on your vehicle are using a power washer and going through car washes. Both methods of cleaning your vehicle can damage the decal or even cause it to fall off due to the pressure of the water.
In almost all situations your decal simply needs to be peeled away from the surface to remove it. Any residual adhesive can be cleaned up using a cleaner that is compatible with the surface (typically a mild cleaner works just fine) and a non-abrasive rag or cloth.
Decals that have been in place for an extended period can sometimes be more difficult to remove. If the decal has been applied to damaged areas of the vehicle, use caution to remove it slowly. In these situations, parking the vehicle in the sun or using artificial heat (blow dryer) can help make it easier to remove. Likewise, using a sharp edge can help remove the decal. Just be careful using a sharp edge so that no damage occurs to the vehicle itself while trying to remove the decal.
As noted above, pressure washers and car washes should typically be avoided when a decal is installed. Both can damage the decal or peel it away from the vehicle. The force of the water itself can sometimes simply be too much for the decal to handle. You can wash your car as often as you wish, but while the decal is on your vehicle, we recommend hand washing.