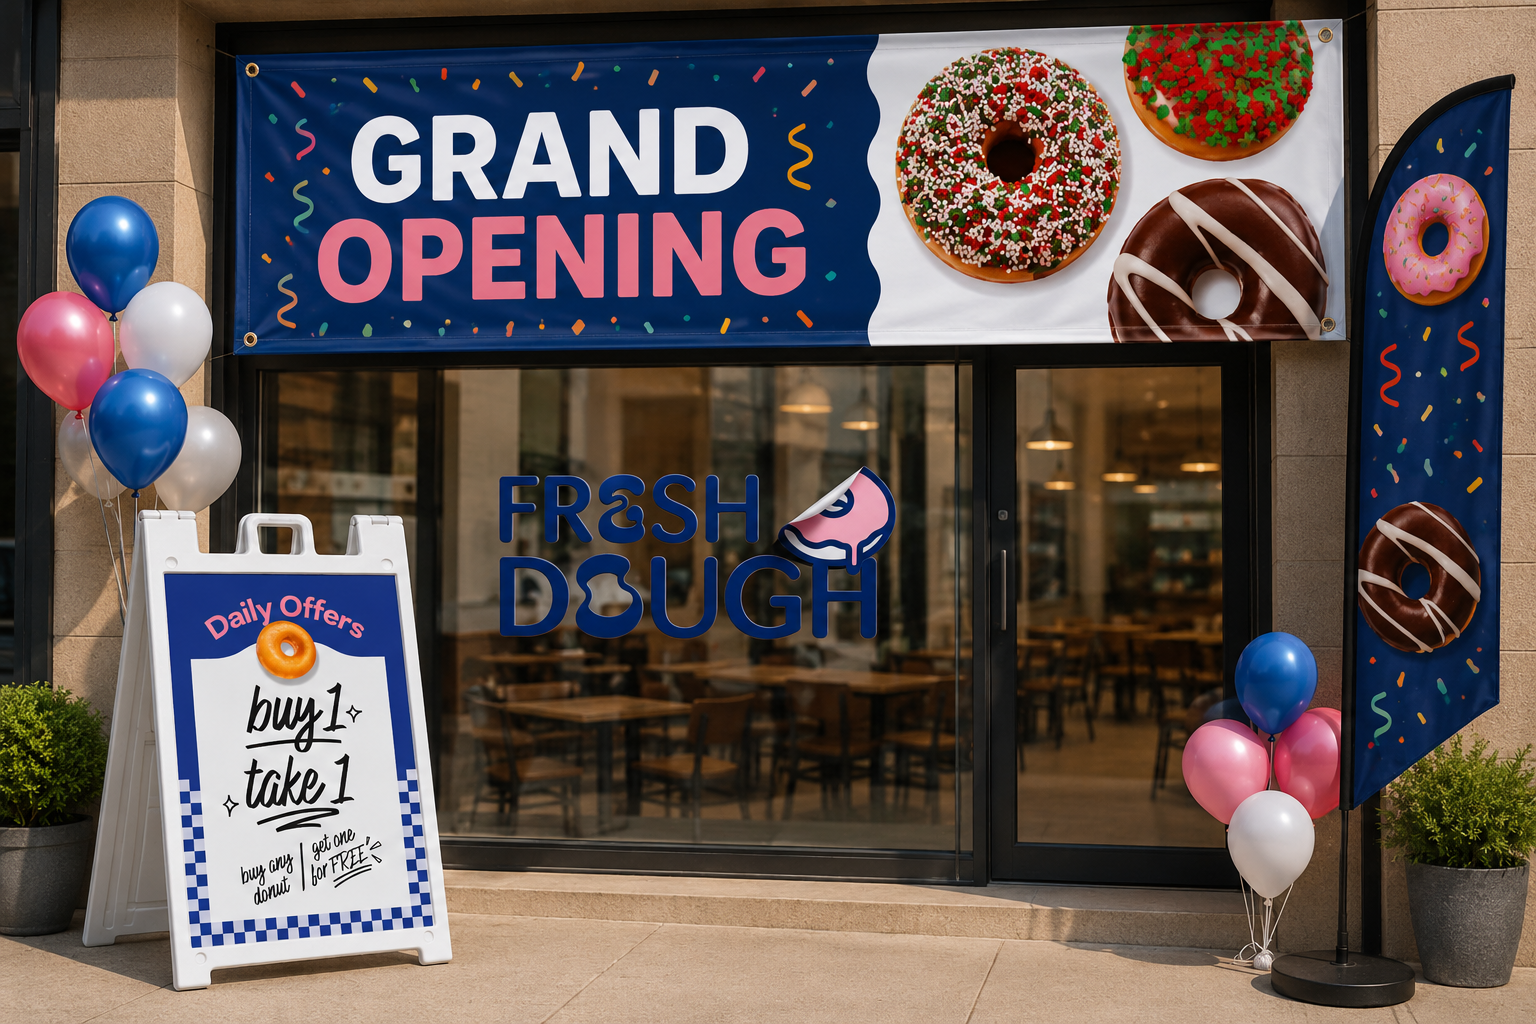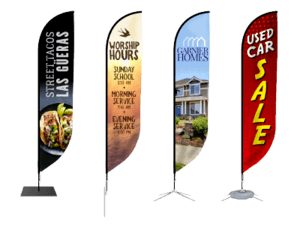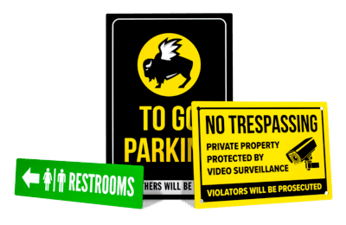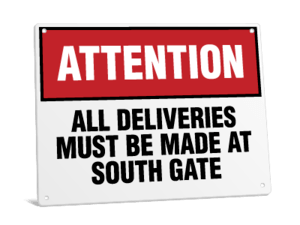

Ordering a custom sign is now easier than ever. Since many sign companies have moved online, you can basically monitor and handle everything from sign designs to delivery in just a few simple steps.
Still, it helps to know what to expect when ordering online. To get the best signage for your brand, you’ll need lots of information, a bit of time, and a clear process. Signs.com can walk you through each step, from choosing your sign type to designing it and having it delivered to your door.
Step 1: Decide What You Need the Sign For
The very first step you need is to think about where the sign will go and what job it needs to do. Decide where you want it displayed, and for how long.
A good way to narrow down your selection is to list some questions and answer them:
- Will the sign be displayed indoors or outdoors?
- How long does it need to last — one weekend or several years?
- Will it sit on the ground, hang on a wall, or attach to a vehicle?
- How far away should people stand when they read it?
When you get a general idea of how your sign should look like and would be used, search online for different types of signs and pick the ones that match your needs.
| Sign type | Best for | Common Installation Methods |
|---|---|---|
| Vinyl Banners |
|
|
| Yard Signs |
|
|
| Decals and Stickers |
|
|
| Banner Stands |
|
|
| Directional Signs |
|
|
Step 2: Choose Your Sign Materials
Once you’ve chosen your sign, the next thing to do is pick the right material. Your choice will impact how your sign looks, how long it lasts, and what you pay upfront.
- Vinyl is the most popular choice for banners. It holds up well against wind, rain, and sun, making it great for outdoor promotions and decorating events.
- Mesh vinyl is a good alternative to standard vinyl banners if you plan to advertise in a windy area, like along a fence. The small holes in the material allow wind to pass through, helping keep the banner from tearing.
- Corrugated plastic is a common pick for yard signs. It’s lightweight, lasts outdoors for a few years, and is easy to set up with stakes.
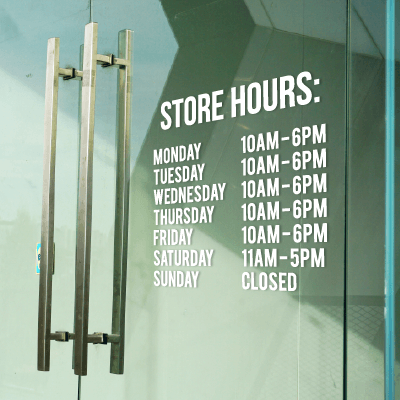
- You can use vinyl decals on glass, walls, floors, and vehicles. There are also different types of vinyl, such as standard, clear, and perforated, each offering unique advantages in their design and use.
If you’re not sure which material to choose, most sign websites list the pros and cons of each option on their product pages. On Signs.com, you’ll also find short tooltips that show which options are available for your sign.
Step 3: Pick Your Sign’s Size
Most signs are available in standard sizes and choosing them usually means you’ll get your order faster. Many sign printers also let you enter your own measurements using their product calculators, so your signs will fit exactly where you want to display them.
When picking the size for your sign, consider where it will be installed and how readable it should remain against the viewing distance. Measure the spot where you want to place the sign and think about which direction and angle will make it easiest to see.
A good rule is that the farther away people are, the bigger your sign and its text should be. If you use smaller signs near sidewalks or storefronts, make sure they don’t block walkways or roads.
Step 4: Use the Online Design Tool
Once you have all the specifics figured out, you can now go straight to designing your signage. Most online sign companies offer a browser-based design tool with three main paths:
Start With a Template
Online printing partners usually offer pre-made layouts you can edit. These also come with the proper margins that let you gauge the size and trim your signs. Simply swap in your own text, logo, and colors, and add images that make your signs unique. This is the fastest option if you don't have design experience.
Upload Your Own Artwork
If you already have a design file ready, you can upload it directly to the website. Make sure the file meets the size and resolution requirements listed on the site so your print comes out sharp.
Request Professional Design Services
If you don't have a design and don't want to build one yourself, many printers offer design services where a team member helps you create a design for your sign.
Whichever path you choose, you should always review your design carefully before moving on. Check spelling, contact information, and colors. Also, always request for a free proof you can review before finalizing your order.
Step 5: Add Finishing Options
Once you have your designs ready, you should also check the other peripherals included with your signs. Depending on the product, you may be able to add finishing options that improve the sign’s handling.
For banners, common add-ons include:
- Grommets (metal rings for hanging with rope or zip ties)
- Pole pockets (sewn openings for sliding a pole through)
- Reinforced hems (extra strength along the edges)
- Wind slits (small cuts that let wind pass through)
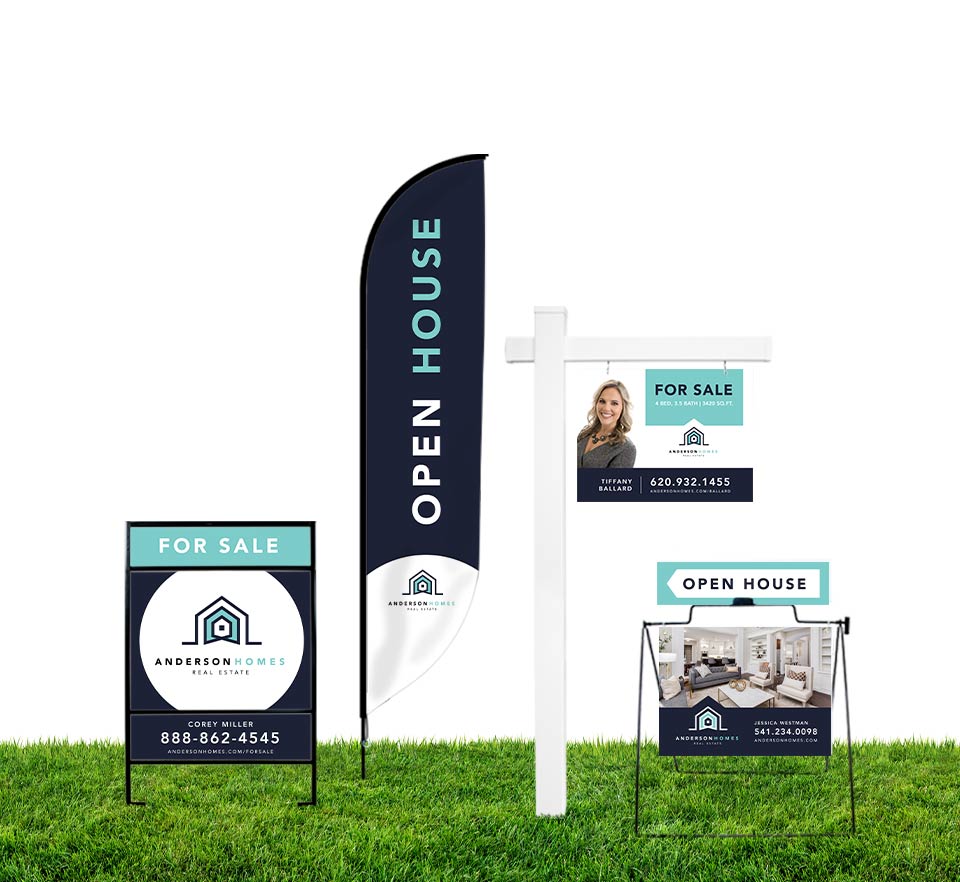
For yard signs, you can usually choose between wire stakes, metal frames, or sign riders.
Decals and large stickers may also come with an optional squeegee that helps with the installation.
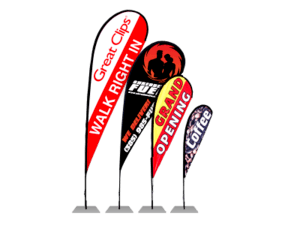
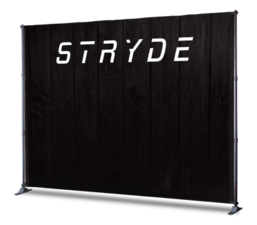
Trade show banners are paired with a banner stand, the sturdy retractable base, and optional LED lights to improve their visibility.
Always take note of these accessories and see how they each work with your preferred sign.
Step 6: Review Your Proof
Always request for a free proof before finalizing your order. This lets you preview exactly what your sign will look like.
Review your proof and check for the following:
- Spelling and phone numbers
- Colors (screen colors can look slightly different than the final print)
- Placement of text and images near the edges
- Overall layout and spacing
Take your time reviewing the proof and exchanging notes with the design team. This is your last chance to catch mistakes before production starts.
Step 7: Place Your Order and Track Production
Once you approve your proof, you can complete your checkout with your shipping address and payment. Finalize your order and track the overall turnaround and shipping of your signs. Most partner companies show an estimated delivery date based on your ZIP code and the product's production time.
Step 8: Check Your Sign
Once you’ve received your signs, you’re basically done! All that’s left is to check your order and see if it’s complete and working. Ensure that you have all the components, including the accessories, and that the signs have no damage.
If there are any concerns, you should contact your print partners and discuss the issues with their aftersales team.
Some Final Tips Before You Order
Ordering signs online is easy and lets you spend more time on the choices that matter most for your final product. Rather than getting caught up in the ordering steps, you can compare sign sizes, pick out hardware and accessories, fine-tune your design, check your proof, and make small changes to help your sign look its best. In short, ordering online gives you the chance to prepare and ensure your signs turn out great and are ready for installation.
As a caveat, here are some final tips to keep in mind when designing and ordering your signs online.
- Keep texts minimal. People read signs quickly, especially outside. Keep your message short and bold.
- Look up local rules. Many cities or neighborhoods limit the size or placement of yard signs, especially for political or real estate purposes.
- Order your signs a bit early. Even if production is quick, shipping can take a while. Ordering a few days before your event gives you some extra time.
- Match your sign to its environment. A directional sign for an indoor office doesn't need the same weatherproofing as one posted at an outdoor event.
Once you have all the information ready, ordering and reordering signs online will be as simple as a few clicks on your PC.