


Opaque Window Clings
Select One of the Following

Let Us Design For You
Tell us what sign you want, how big you want it, and what you would like on it and we'll have it ready for you in no time!
OR
Design Online
No results found for "{{previous_search_keyword}}"
Get it Professionally Designed
Tell us what you want your product to look like and our team of professional designers will bring your vision to life!
And the best part: All design fees will be fully credited to your product purchase!
 163K
163K
Store Ratings
 Verified Purchase
Verified Purchase
Verified Purchase
Verified Purchase
Verified Purchase
Verified Purchase
Verified Purchase
Verified Purchase
Verified Purchase
Verified Purchase
Verified Purchase
Verified Purchase
Verified Purchase
Verified Purchase
Verified Purchase
Verified Purchase
Verified Purchase
Verified Purchase
Verified Purchase
Verified Purchase
Verified Purchase
Verified Purchase
Verified Purchase
Verified Purchase
Verified Purchase
Verified Purchase
Verified Purchase
Verified Purchase
Verified Purchase
Verified Purchase
Verified Purchase
Verified Purchase
Verified Purchase
Verified Purchase
Verified Purchase
Verified Purchase
Verified Purchase
Verified Purchase
Verified Purchase
Verified Purchase
Verified Purchase
Verified Purchase
Verified Purchase
Verified Purchase
Verified Purchase
Verified Purchase
Verified Purchase
Verified Purchase
Verified Purchase
Verified Purchase
Verified Purchase
Verified Purchase
Verified Purchase
Verified Purchase
Verified Purchase
Verified Purchase
Verified Purchase
Verified Purchase
Verified Purchase
Verified Purchase
Verified Purchase
Verified Purchase
Verified Purchase
Verified Purchase
Verified Purchase
Verified Purchase
Verified Purchase
Verified Purchase
Verified Purchase
What Are Opaque Window Clings?
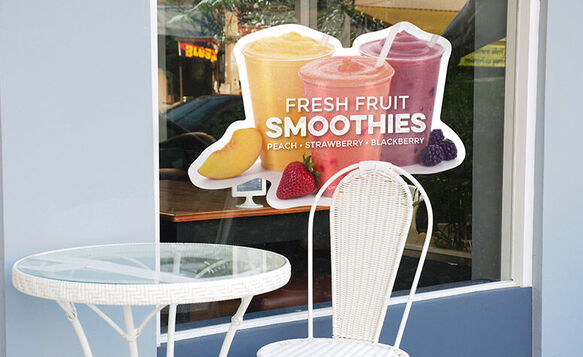
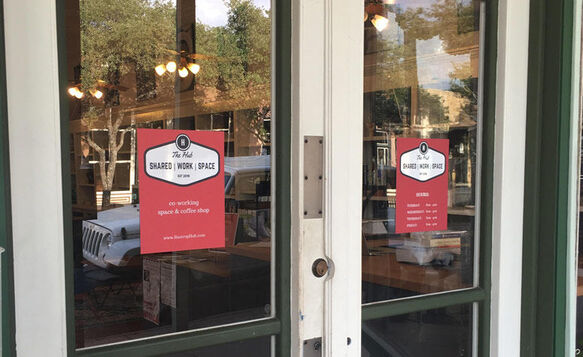
Window clings (sometimes known as static clings or static window clings) are similar to decals as they are printed onto a thin white vinyl material that can be easily applied to a smooth surface. Unlike decals, however, window clings stick to glass and other smooth surfaces without any adhesive. No sticky adhesive means no mess plus the benefit of being able to reuse and reposition your cling as you please. Opaque window clings are the perfect choice for temporary signage.
Opaque window clings are printed in full color with high resolution digital UV Ink. Having a brilliant print means you can proudly display a fantastic design in minutes with an opaque window cling. Although these window clings are not intended for vehicle use or other exterior applications, they provide excellent window signage for any occasion.
.png)

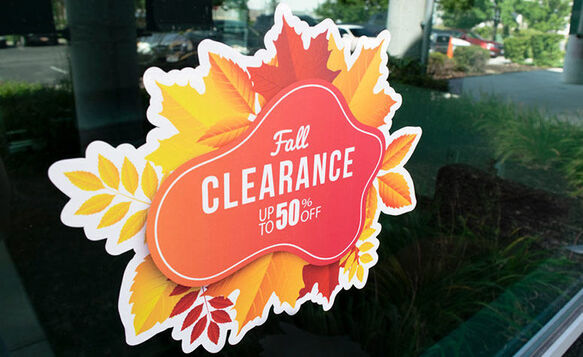
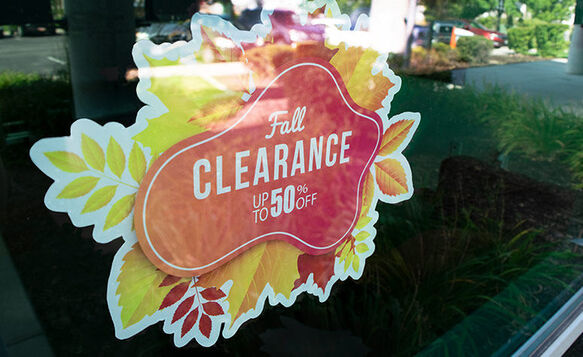
Create your opaque cling in whatever shape you want. Plus with advanced digital printing, your design will be full color at no additional cost.

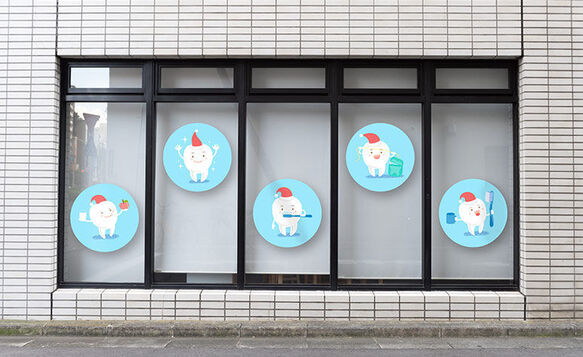
Your cling can be up in minutes. If you feel it needs to be moved or adjusted, no problem—simply peel it off and move it wherever you like.

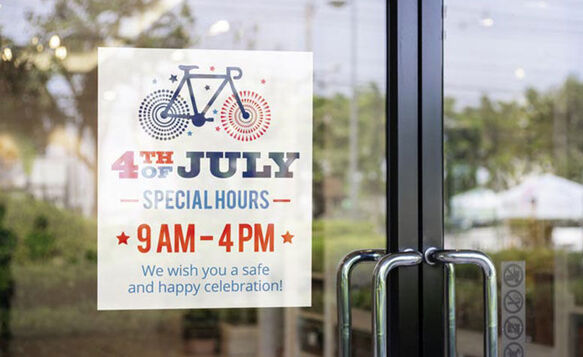
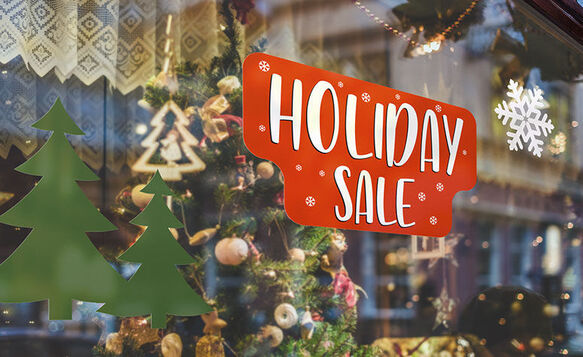
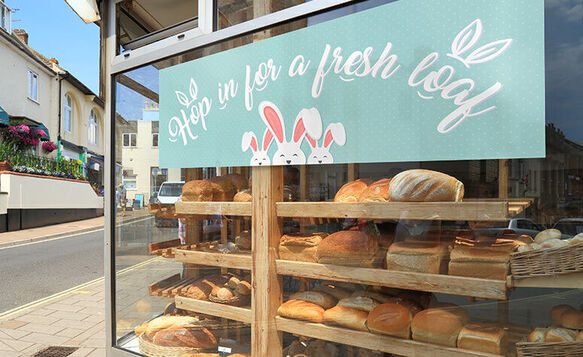
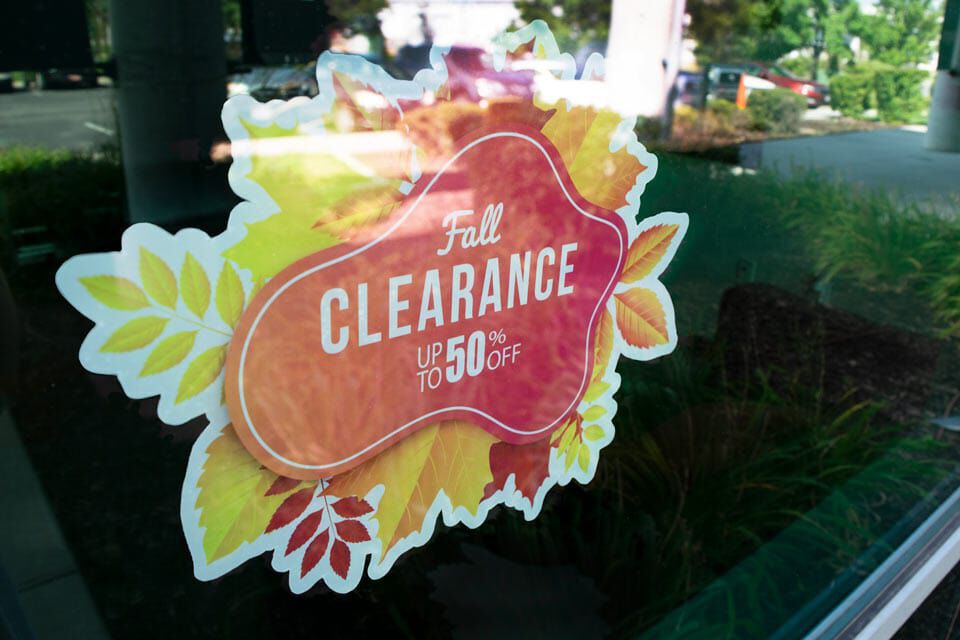
Need a temporary signage solution that can be used over and over again? Opaque window clings are the perfect seasonal option.

Unlike window decals, you don’t have to worry about any messy or tedious clean up after removing your custom window clings.

Removable and Repositionable
With clings, you’re in full control whenever you want to move or take down your design. Window clings can be placed on a window, removed when needed, then reused again. In comparison to decals, window clings have the added benefit of not leaving any adhesive residue when taken down.
Repositioning your cling is simple. Just peel it away from the surface and put it back wherever you want. A little water with a couple drops of dish soap works wonders to get your cling adjusted on the window just right. Use a squeegee to remove air pockets and excess water then let it dry. See the installation instructions for more details.
When you are done displaying your cling, you can store it for later use by putting it back on the white backing that came with your cling. You can also use wax paper if you no longer have the backing. Store your cling flat, in a cool, dry place.
Advanced Printing
Opaque window clings are printed in full color with UV ink using a digital printing process. This means that no matter how simple or detailed your design, you can expect a clear image and text on your cling.
Whether your design is one color or multicolor, your cost is the same. If you don’t have a design ready but have an idea of what you’d like we can help. Take advantage of our free design service with purchase and we’ll help you get the perfect window cling display.
When your design uses a color or image background, opaque window clings are perfect. Keep in mind that you can also get a clear window cling if you are looking for something more transparent.

Save Time With Design Templates
Don’t have a lot of experience with design? Templates let you start off on the right track. We have premade designs you can use for your window cling artwork
Popular Design Templates
Signs.com offers a wide selection of templates you can use for your print projects. Having a hard time picking one? Here are some of our most popular designs for window clings:
How to Use Window Cling Templates
- Choose a window cling template from our design selection.
- Customize the template to your requirements. You can change the dimensions, print surface, copy, and colors using the design tool.
- Once you’re done with your design, press ‘Save & Continue’ and proceed to checkout.
Display
Inside Glass
Choosing inside glass in the options means that your design will be printed on the same side as the “cling” side. This option allows you to display your design outside while the cling is attached to the inside surface. This is perfect for increasing the longevity of your cling as well as ensuring it doesn’t get damaged or stolen by passersby.
Standard

The standard option allows your cling to be placed on the outside of the window. Use this option if you have tinted windows or the surface is solid. Or if you want your cling to display opposite of the cling side.
Shape
Square/Rectangle

Perfect for rectangular designs. Your cling will be a square or rectangle depending on the dimensions you choose on our design tool.
Rounded Corners

Your cling will be a square or rectangle depending on the dimensions you choose on our design tool. You can choose either ¼” or ½” radius on rounded corners.
Circle/Oval

The shape of your cling will be a circle or oval based on the dimensions you choose on our design tool.
Custom

Design your custom window cling as whatever custom shape you want. Feel free to use our free design services to help you do this!
Custom with Border

Similar to custom shape clings, you’ll get a cling in the shape you desire with a white border of ¼” to ½” around the perimeter of your design.
Easy to Use Design Tool
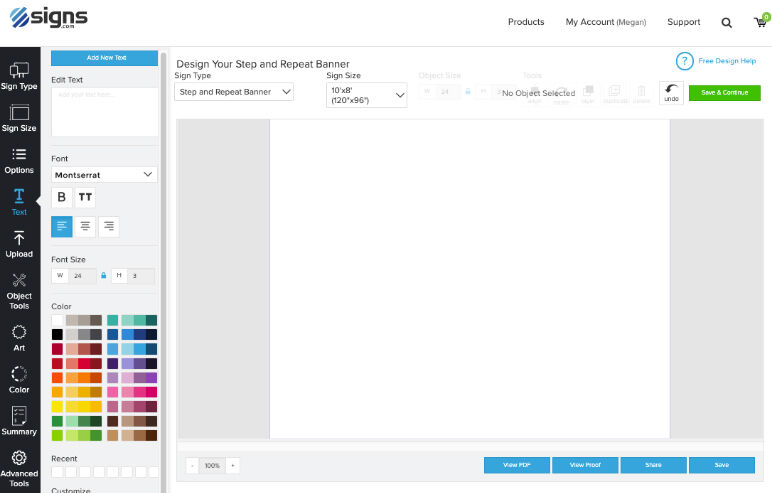
We have put in a lot of work to make our design tool the easiest and most simple to use in the signage industry. Upload images, create objects, add text, adjust sizing, change color, and so much more!
Free Design Service with Purchase

Whether you need help uploading your design or are interested in creating something entirely new, our team of professional graphic designers is here to help. Nothing beats free!
Additional Specs
-
Weight:
.09 lbs per square foot (about the weight of 9 quarters)
-
Thickness:
.017” (about the thickness of 2 sheets of copy paper)
-
Details:
.017” (about the thickness of 2 sheets of copy paper)
-
Uses:
Indoor, retail, home or auto windows
-
Print Method:
Four color process, eco-friendly, weather, fade and abrasion resistant UV ink. Digitally printed, full color
-
Estimated Lifespan:
1+ years with proper placement and care
-
Common Sizes (WxH):
6”x6”, 12”x12”, 24”x12”, 24”x24”, 48”x48”, 36”x60”
How to Install Opaque Window Clings
Applying your window cling can be done in a few simple steps. All you need is the window cling, a clean surface, a soap and water mixture in a spray bottle, and a squeegee (available for purchase with a window cling).
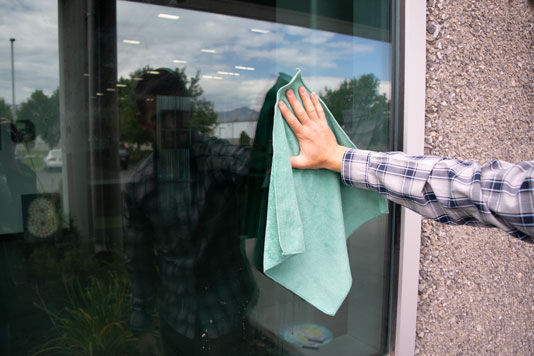
Thoroughly clean the surface of the glass or non-porous surface you’re applying the window cling to. Use water or any other household window cleaner.

Once the surface is clean, gently peel the white backing away from the cling.

Use a light soap and water mixture to spray the window and the non-printed side of your cling (the front for inside glass window clings or the rear for outside glass, or standard surface, window clings). While a light wet application is recommended, your cling can be applied without using the soapy water solution.

Apply the cling to the surface by starting at the top, applying pressure as you work your way to the bottom.

Use a squeegee* to remove excess water and bubbles.
*Available for purchase with opaque window clings and other decal products.

Once dry, your window cling will adhere to the window while still being removable and repositionable!
Download or Print Window Cling Installation Instructions PDF
Care
Custom opaque window clings can be easily cleaned using a damp cloth or paper towel. Gently wipe dirt or residue from the surface of the cling and surrounding window. When needing to store the window cling, simply remove it from the window, wipe it down to remove any surface dirt, then re-apply the protective backing on the ‘adhesive’ side. If you don’t have the protective backing, wax paper can be used as a protective backing.

Why Signs.com?


Questions and Answers
Opaque window clings work great for designs that include full color throughout the entire design. Common uses for opaque window clings include sales advertisements, seasonal window decor, business hours, and window runners and borders. Opaque window clings are great for blocking the view inside the window or outside of the window.
Clear clings, on the other hand, offer the advantage of being see-through on the areas where ink is not printed. Thus, storefronts or retail locations are perfect places to use clear clings. This allows you to advertise your promotion or sale while still allowing your customers to see your product displays and store.
No, it doesn’t cost more money to print in full color because everything we print is in full color. For this reason, there isn’t a discount to print only one or two colors. Instead, the price of your sign will be dictated by the size and the quantity you select. Design whatever you wish without fear of making your sign cost more. You can also contact us and we’ll design what you envision free of charge.
Yes, we offer several shape options for our opaque window clings including square/rectangle, rounded corners with a ¼” radius or 1” radius, circle/oval, and custom with border (previously known as or sometimes referred to as halo). Custom with Border is a great option for opaque window clings as it leaves a nice white boarder around your entire design. Wether you select the option Custom With Border, Custom, or otherwise, you can customize your cling to any shape or size.
If you are looking for individually cut vinyl letters for your storefront or home windows, you are most likely looking for vinyl lettering which is a different product entirely.
Window clings will stick to any glass surface. In most cases, they will also stick to smooth surfaces like acrylic and solid plastics. They will not stick well to drywall, wood, and other similar surfaces. The surface they stick to must also be nonporous, which means it can’t have any pores or crevices where water and air come in. You can also apply the clear window cling on a solid unpainted surface.
Clings are most typically used inside. Although they can be used outdoors, we don’t normally recommend it. If you are going to use them outdoors make sure to follow installation instructions and remove them before any severe weather. Due to their ability to be removed and reapplied quickly and easily using them outdoors can work.
If you want them to display outside but be installed inside, select “Inside Glass” which means that we’ll reverse print your cling. You can then hang your cling on the inside of your storefront or window to be viewed by those outside or approaching your business. This method of printing accomplishes the visibility you want and keeps the cling out of the elements. However, make sure that your window isn’t tinted or the visibility of your cling will be limited.
We do not recommend clings be used on the exterior of any type of vehicle. Opaque window clings are not designed to be used on cars and will fly off your vehicle. We recommend our car decals or magnets for car signage.
If you follow the installation and storage instructions, your window clings can be removed and reused as often as you’d like. Removing them from the window should not leave behind any sticky adhesive residue.
Your window cling can be installed in much the same way as our window decals. First, ensure that the surface where you will be placing the window cling is both cleaned and allowed time to completely dry. Peel away the cling from the back lining, spray the cling and the window with light water and dish soap solution (we recomend 3 drops of dish soap to 1 gallon of water), then apply the cling and use a squeegee or a credit card to firmly press the cling to the window and remove the water. Start from the middle of the cling and move outwards.
As long as the surface is completely cleaned before installation, you may also simply apply the cling to the surface without the water and dish soap solution—just use the squeegee to get a firm “cling”. A dry install might not cling to the surface as long as a wet install but is faster and easier.