


Sometimes creating signage can be stressful. At Signs.com, we want to make the process as hassle-free as possible. Font issues can be one of the most common sources of headaches when designing signage. If fonts aren’t created correctly, you can end up with a sign that doesn’t look anything like what you pictured. With this Signage 101 post, we will be simplifying the confusing world of fonts.
WHY DO FONTS MATTER?
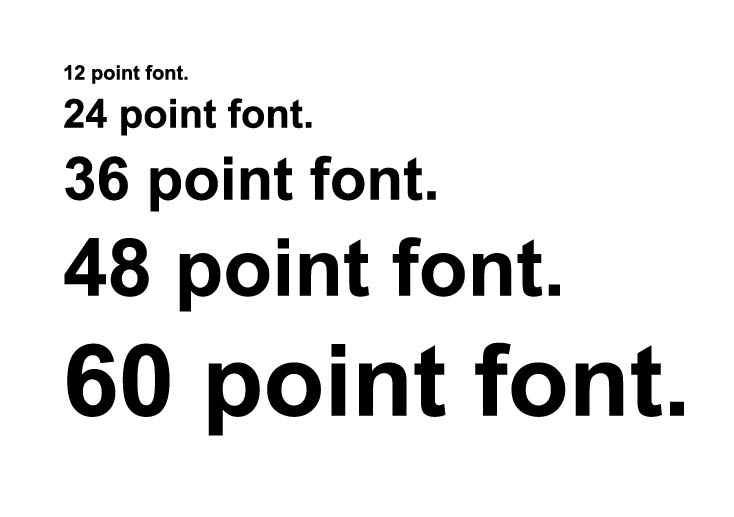
A font is an electronic file containing characters, glyphs, and/or symbols. Each computer is equipped with a certain set of fonts, stored on the hard drive of the computer. Technically, they are stored as either TrueType files or OpenType files, readable by the computer as a static line of dots on a page. Fonts can be resized proportionally by changing the font size on your computer.
However, fonts can vary from computer to computer. When a file gets opened on a new computer, the computer searches for the corresponding font. If the new computer doesn’t have that particular font, it attempts to find similar font to use as a substitute. Often, this leads to issues with spacing and placement of the letters.

with spacing and the placement of the letters.
HOW CAN I AVOID FONT ISSUES?
Fonts can be fickle. The best way to ensure your fonts come out looking great is to convert them from fonts into “outlines”. Outlining the fonts changes the fonts from, well, fonts, into drawings. We’ll spare you the mathematical details, but outlining the fonts makes the file universally readable on any computer, whether or not the computer has the font used. Instead of reading the font as sets of dots that make up a letter, the computer reads the file as a group of dots based on a mathematical algorithm.
The text in an outlined font can’t be edited because it is no longer a font. Therefore, before you outline your fonts, be sure the text is exactly as you’d like it to be. Alternatively, save two files – one that is still editable and one that is ready for printing.
HOW DO I OUTLINE FONTS?
Fonts can be easily outlined in any Adobe Suite program. It is also possible to outline fonts in Microsoft Word.
Outlining Fonts in Adobe Illustrator
If you are working in Adobe Illustrator, follow these simple steps to outline your fonts.
- Select your font using the selection tool. Depending on your version of Adobe Illustrator, you can select more than one line of text at a time.
- In the menu bar, select “Type” then select “Create Outlines”. The computer will then turn everything you have selected into an outline.
- Follow these steps for each line of your text. The computer denotes outlined fonts with dots around the edges of the letters. Dots only denote the edge of each of the lines on the computer and will not be printed.
For more information, watch our short video regarding outlining fonts in Adobe Illustrator.
Outlining Fonts in Adobe InDesign
If you are working in Adobe InDesign, follow these simple steps to outline your fonts.
- Select your font using the selection tool.
- In the menu bar, select “Type” then select “Create Outlines”. The computer will then turn everything you have selected into an outline.
- Follow these steps for each line of your text. The computer denotes outlined fonts with a dashed line around the edge of the outlined text.
For more information, watch our short video regarding outlining fonts in Adobe InDesign.
Rasterizing Fonts in Adobe Photoshop
If you are working in Adobe Photoshop, follow these simple steps to outline your fonts. Photoshop is a little different from the other two Adobe design programs. Instead of converting the fonts to outlines, you must “rasterize” the fonts so that they are changed into pixels.
- Select the text layer in the Photoshop file.
- In the menu bar, select “Type” then select “Rasterize Type Layer”. The computer will then turn everything you have selected into a rasterized layer, making it readable by all computer operating systems.
- Follow these steps for each line of your text. The computer denotes rasterized fonts with a line around the edge of the outlined text.
For more information, watch our short video regarding rasterizing fonts in Adobe Photoshop.
HOW CAN I TELL IF MY FONTS ARE OUTLINED?
If you’re using our online design tool to create your fonts, they are already outlined for you when you create your sign.
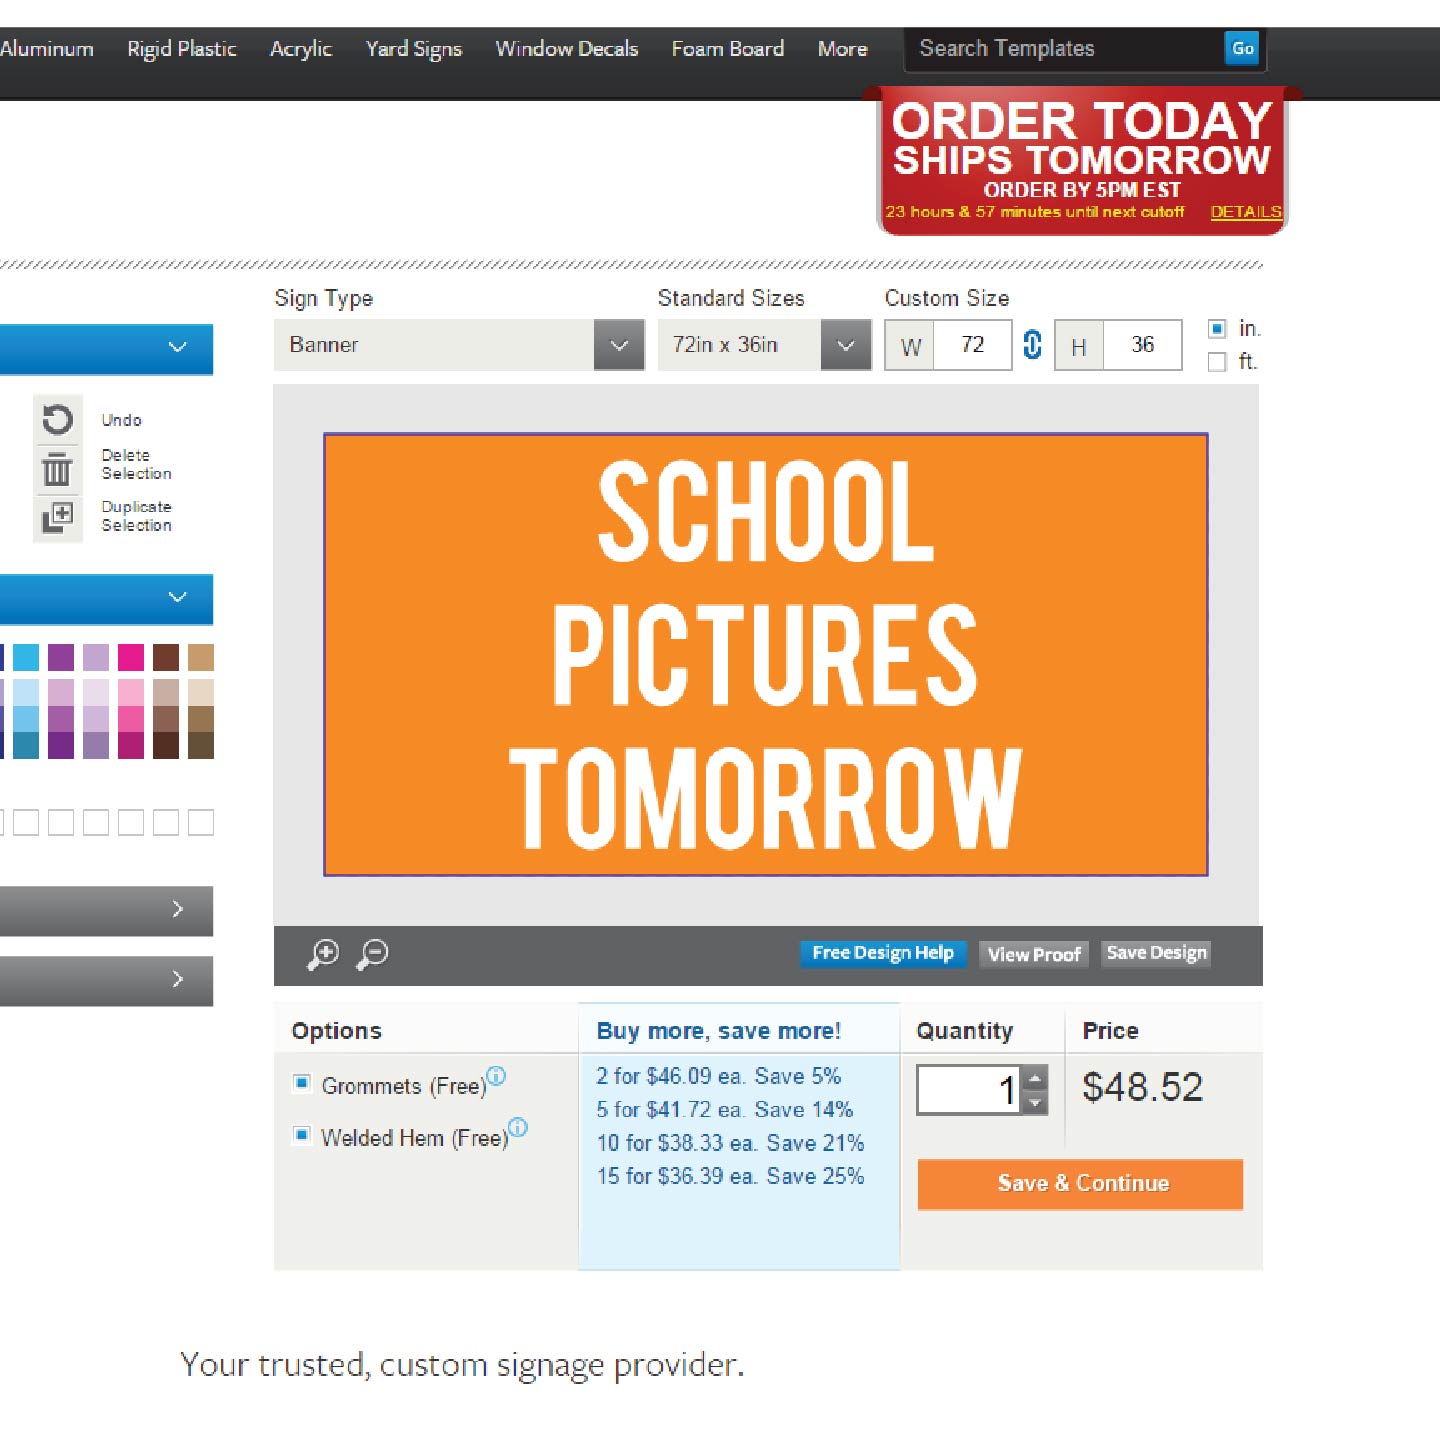
If you’re uploading a file you’ve created, the quickest way to tell if you have a font issue is to click the “View Proof” button in our design tool on the website. Font issues are usually quickly apparent.
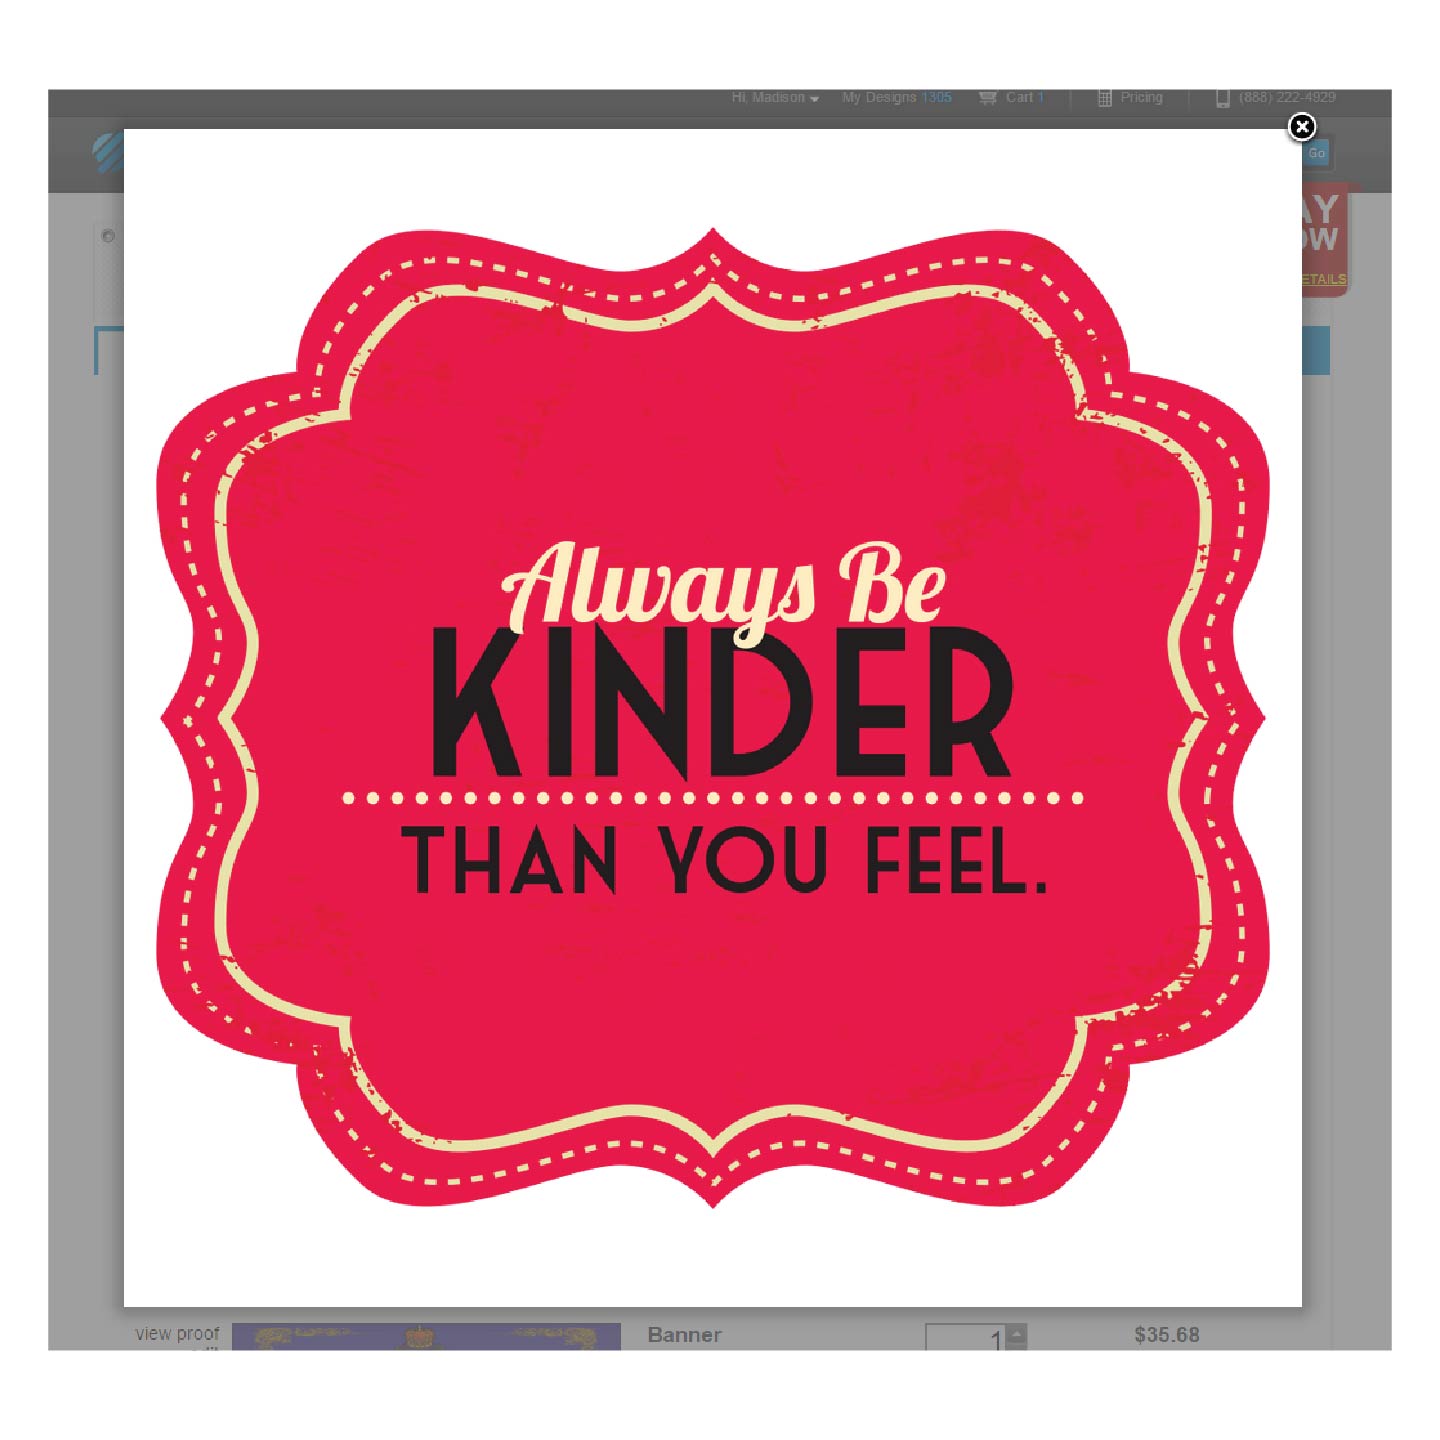
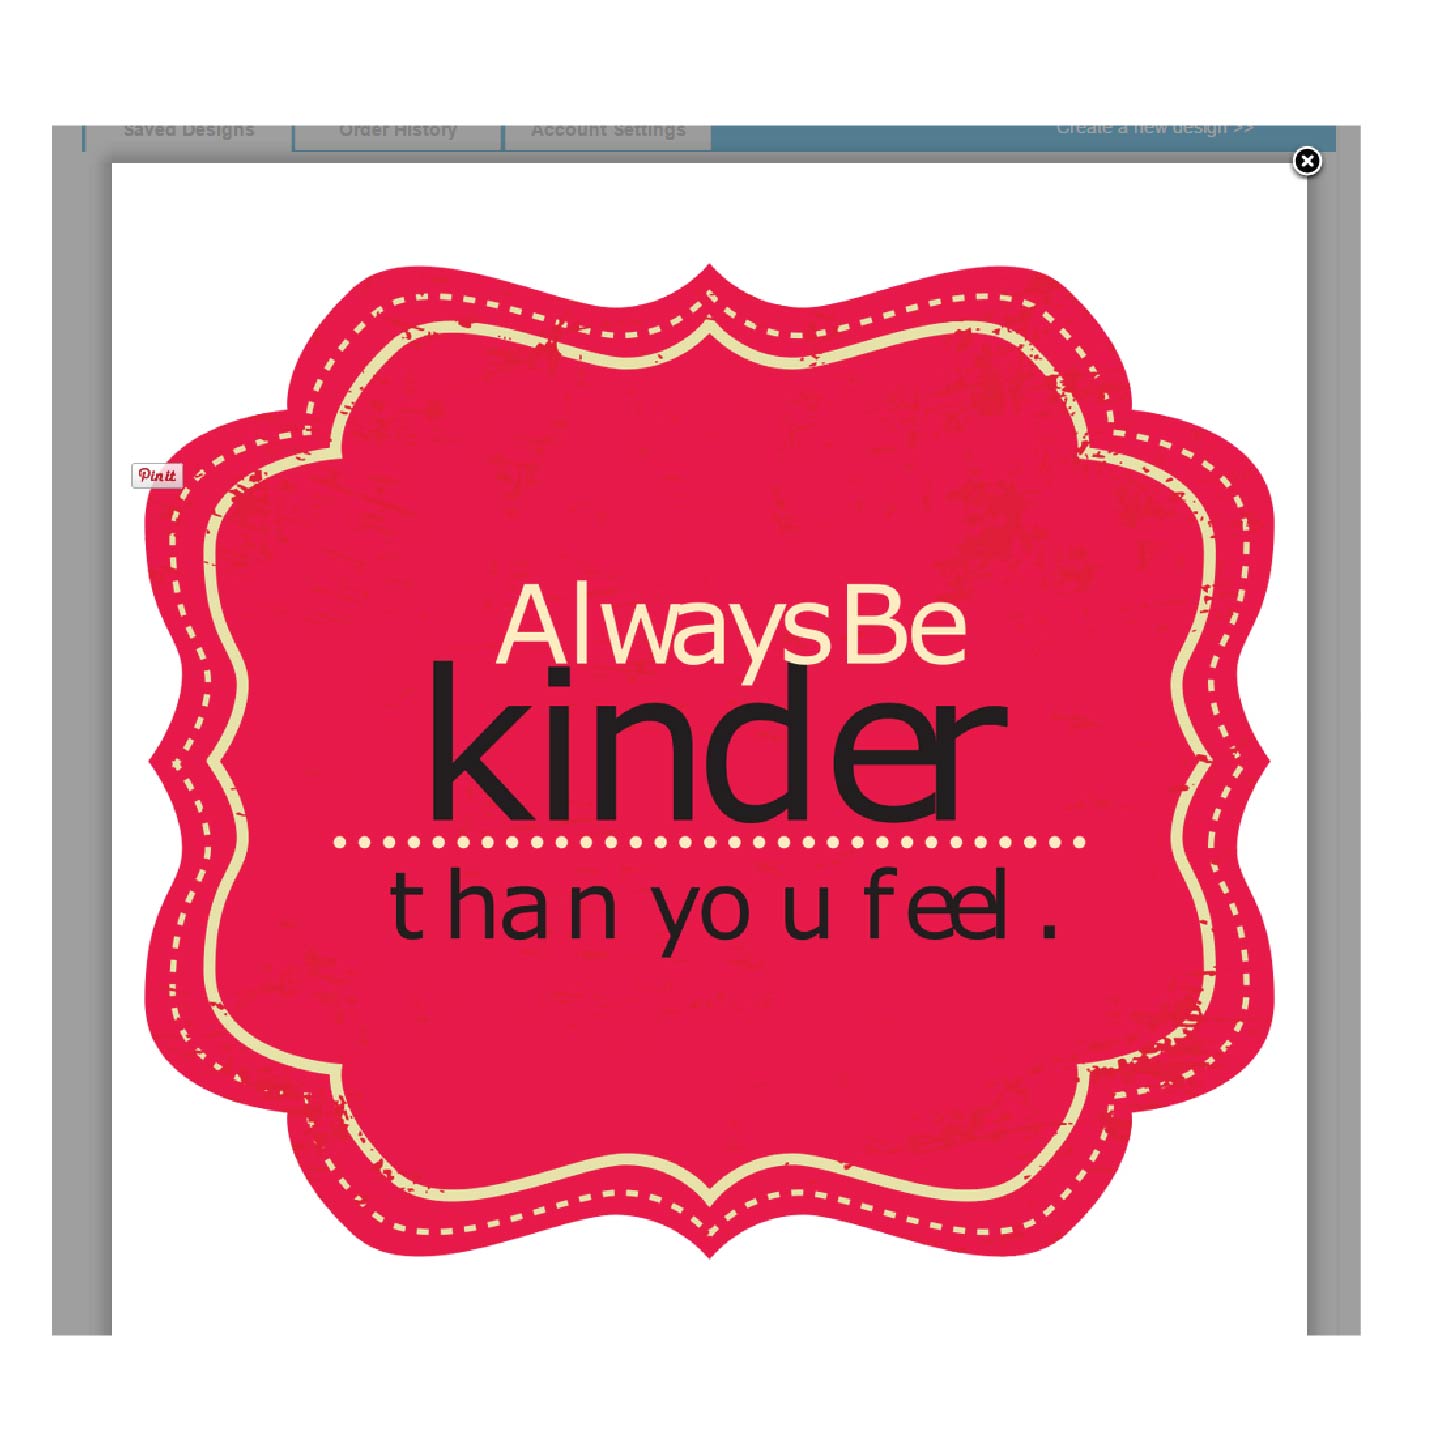
Before you purchase your sign, be sure to click the “View Proof” button. No file type is immune to font issues, so be sure to view your proof before you continue with your purchase. Please be aware that if there are issues with the fonts in your design, it may result in additional time for the completion of your order.
As always, the Signs.com team is here to help you with any questions you have about your signs. If you need help with fonts or with any other aspect of your sign, please contact us! We also offer free design services, if you need help with your files or your sign design.